
Vaccuum Gripper Wrist Rotate Assembly Guide
Vacuum Gripper Wrist Rotate Assembly Guide
Updated March 29, 2011
Safety first! Wear eye protection and never touch a powered robot!
Note: Loctite or thread locks can be used on aluminum components. Do not use on Lexan — not necessary and may cause damage.
Completed assembly.
Remove the gripper assembly from the "C" bracket and set it aside — it will not be used with the wrist rotate.
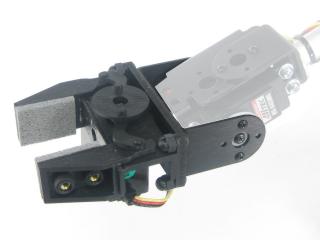 Figure 1.
Make sure the servo is in center position and remove the servo horn — be careful not to turn the servo shaft. Drop the HS-225MG into the wrist rotate bracket from the top as shown. Refer to the attachment diagram below.
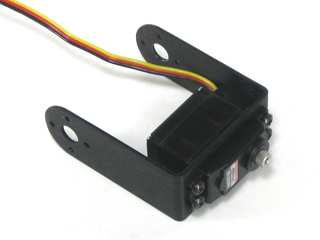 Figure 2.
Drill out the two holes on the servo horn to 1/8" as shown in Figure 3-2. This can be done by hand with a drill bit as shown in Figure 3-1.
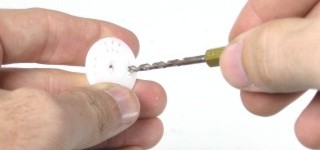 Figure 3-1 (drilling by hand).
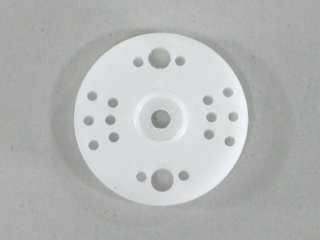 Figure 3-2 (hole locations).
Reattach the servo horn in the same position as before.
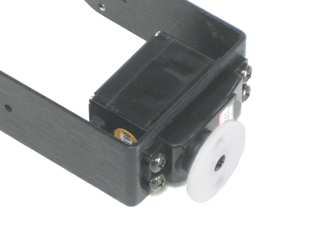 Figure 4.
Attach the 1/8" elbow fitting to the small Lexan disc with a 1/4-28 nut. Ensure neither the corners of the nut nor the elbow overlap the other holes on the disc.
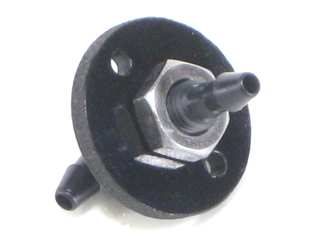 Figure 5.
Thread the 7/8" screws through the Lexan, washer, and 1/2" standoffs as shown. Do not tighten all the way yet.
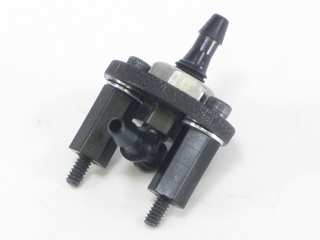 Figure 6.
Attach this assembly to the servo horn using two 4-40 x .250" nuts. Tighten these all the way down.
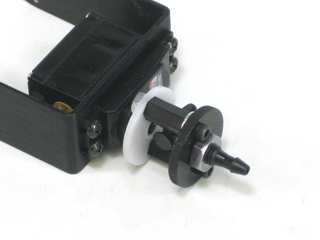 Figure 7.
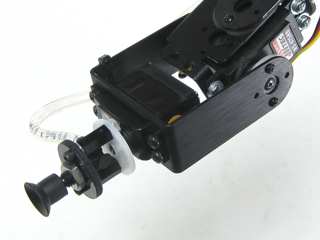
Slide the suction cup onto the end of the elbow fitting.
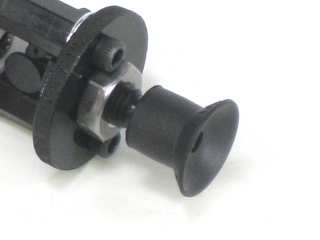 Figure 8.
Slip the gripper assembly back onto the arm and attach with two #2 x .250" tapping screws. Add a 6" or 12" extender cable (or both if necessary) to the wrist rotate servo and plug into channel 5 on the SSC-32.
Attach the vacuum tube to the elbow fitting and route it to the syringe assembly. If using wire ties to secure the tube, leave enough slack to allow full wrist rotation. Do NOT overtighten the wire tie — it will compress the tubing and block airflow.
 Figure 9.