900mm 6DoF Wiring
Last modified by Eric Nantel on 2024/10/08 13:46
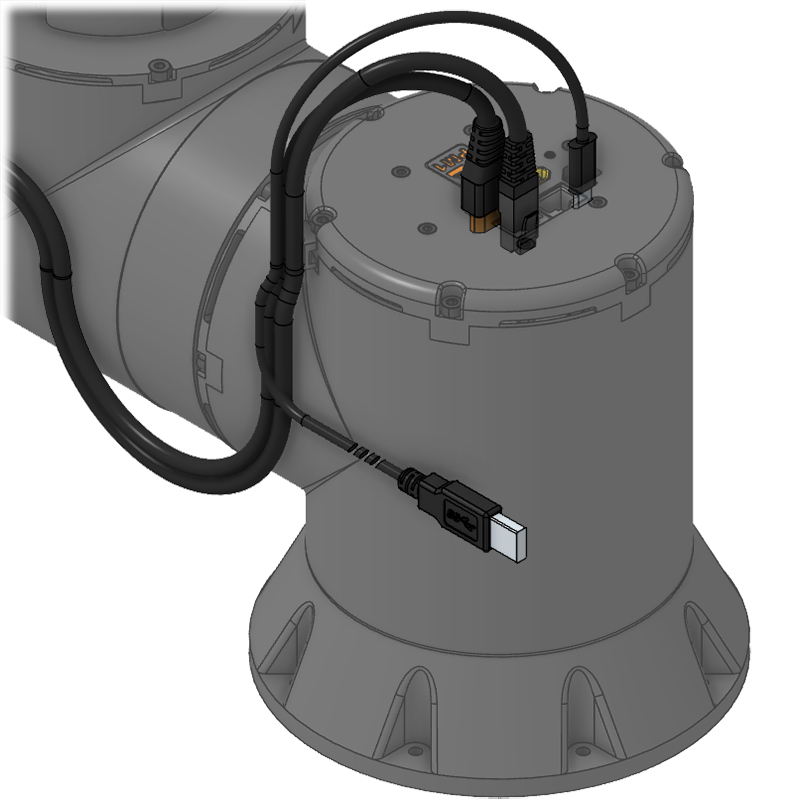
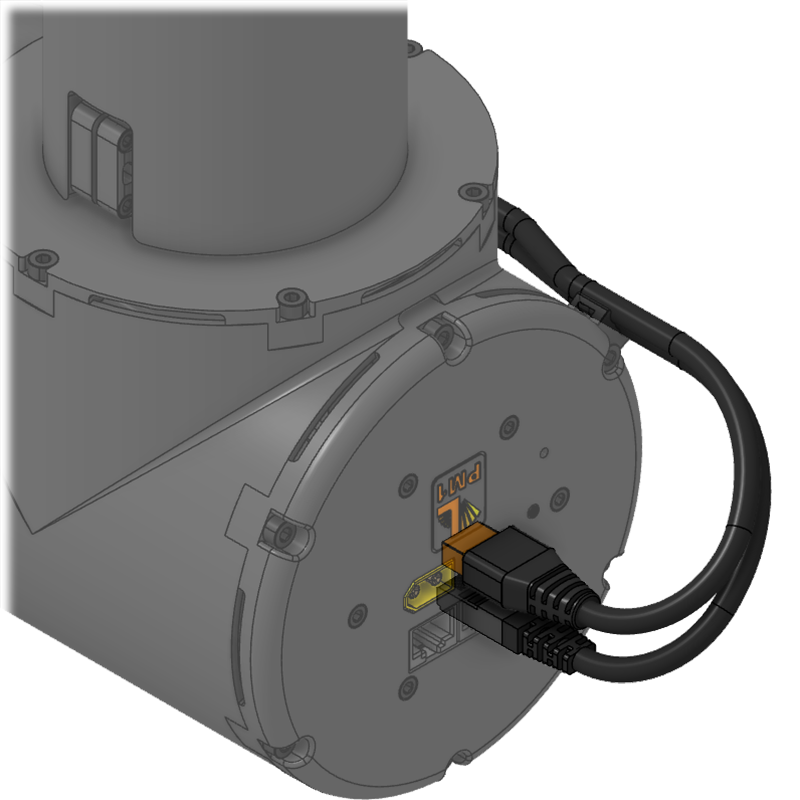
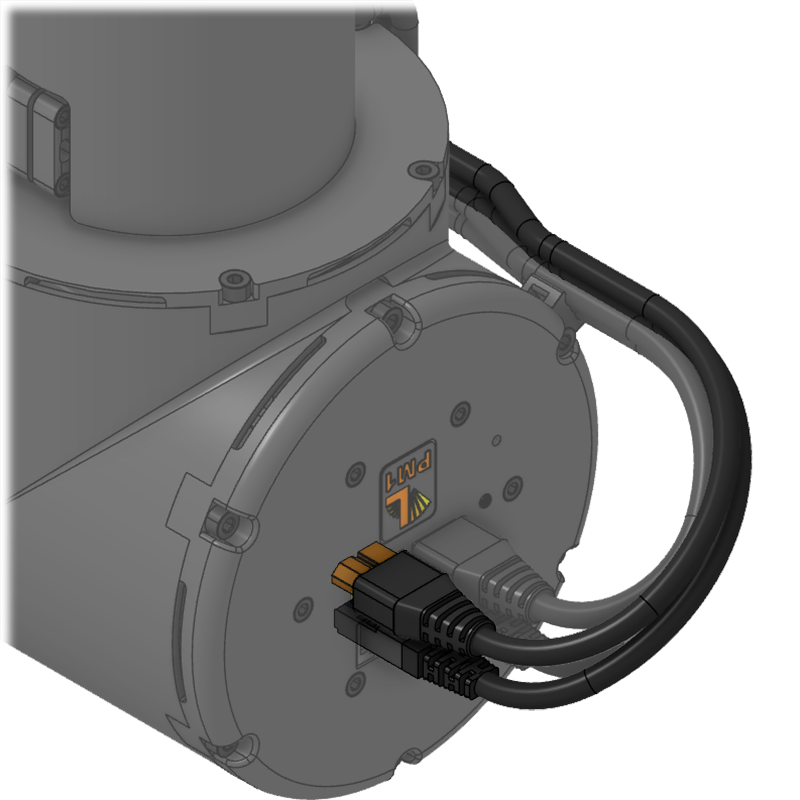
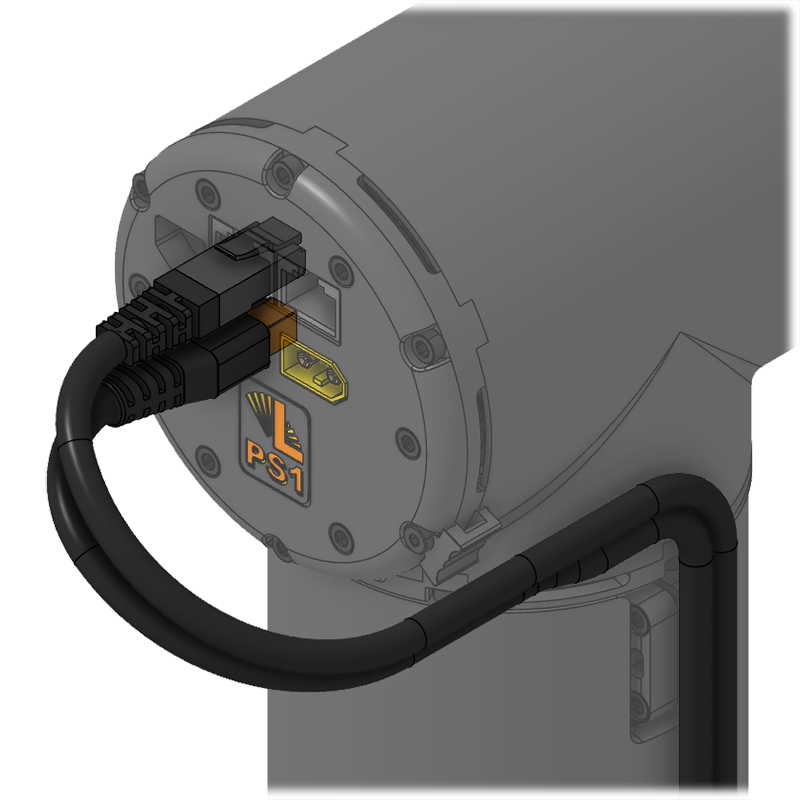
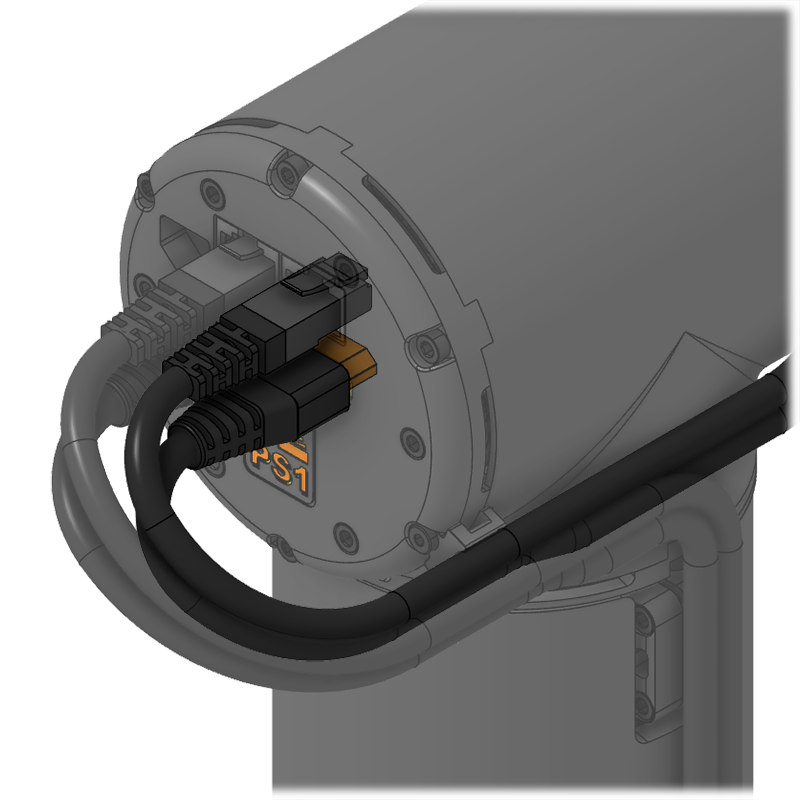
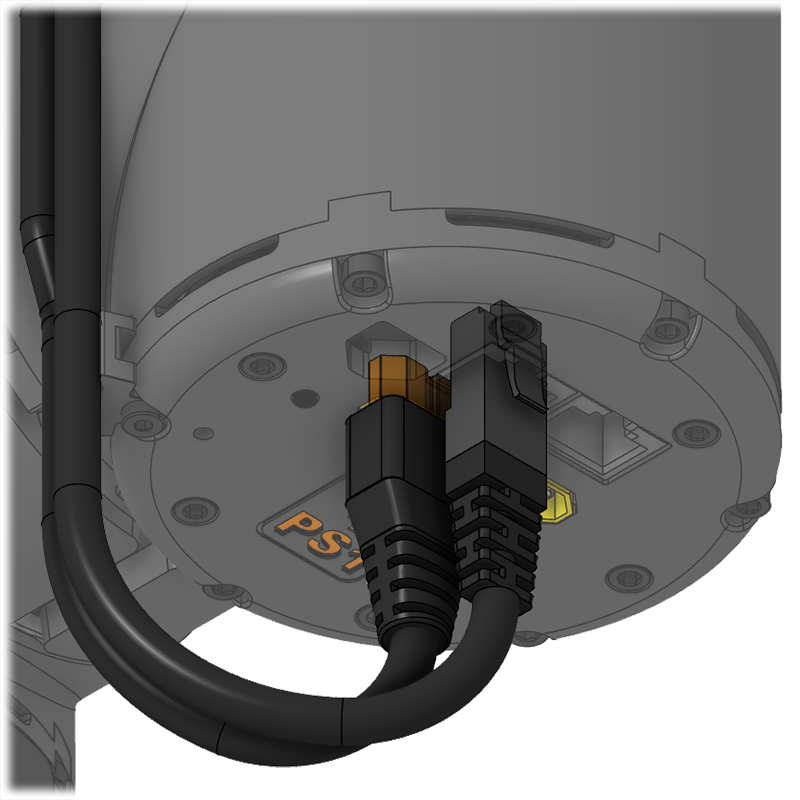
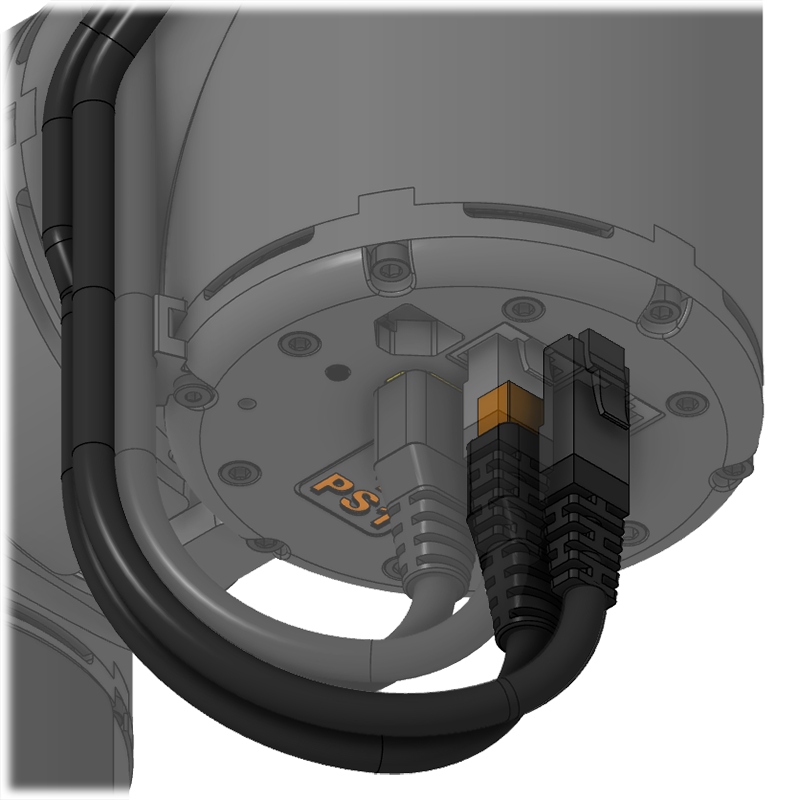
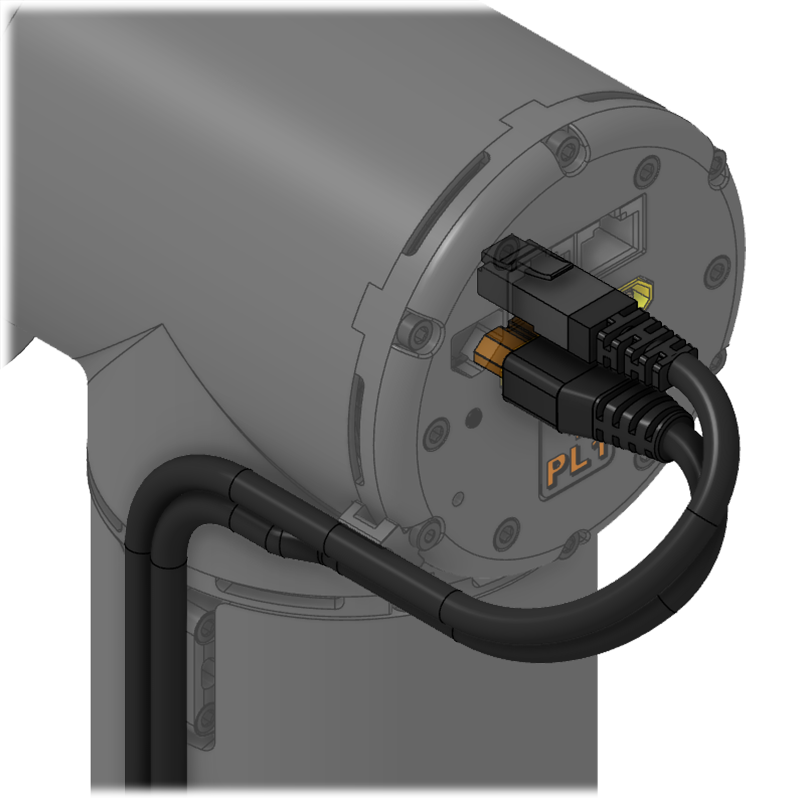
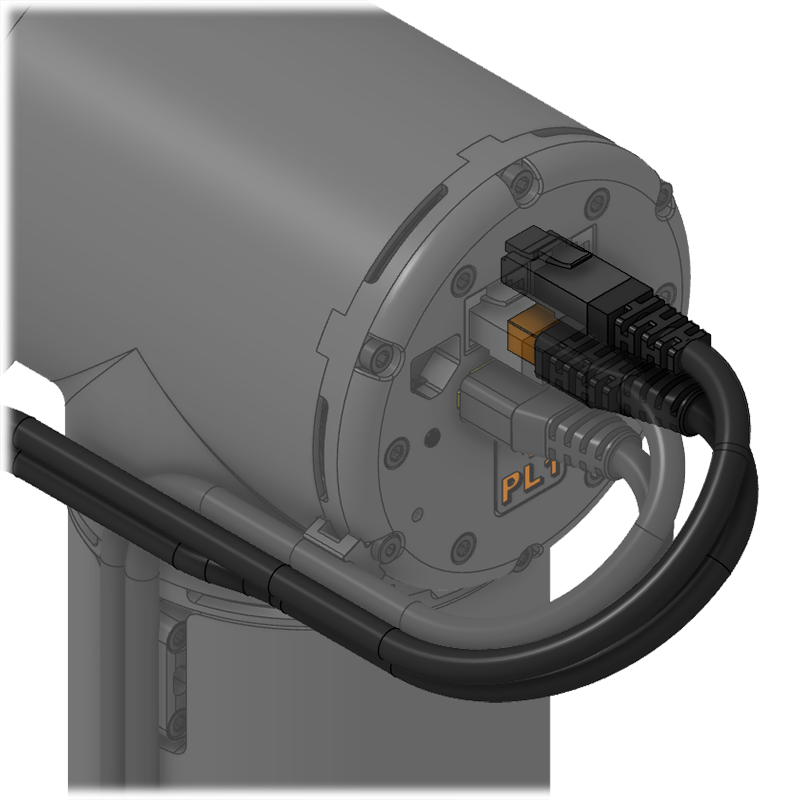
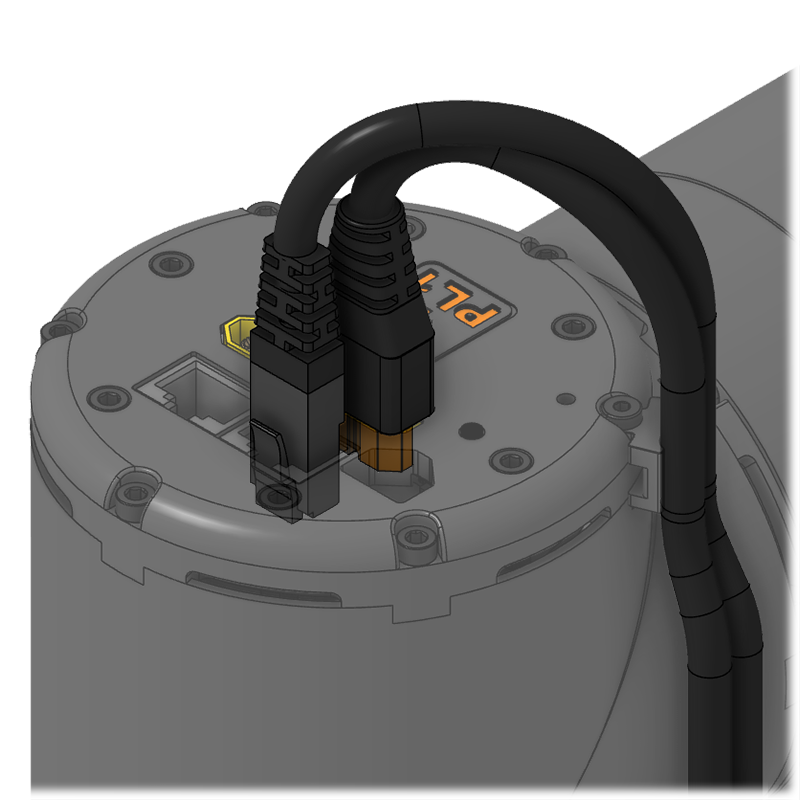
IMPORTANT : Proceed with connecting each actuator's power & ethernet cables from one servo to the next. They will be held with Zip-Ties later.
Wiring - Assembly A
Step 1/6
| Joint #1 | Joint #2 |
Wiring - Assembly B
Step 2/6
| Joint #2 | Joint #3 |
Wiring - Assembly C
Step 3/6
| Joint #3 | Joint #4 |
Wiring - Assembly D
Step 4/6
| Joint #4 | Joint #5 |
Wiring - Assembly E
Step 5/6
| Joint #5 | Joint #6 |
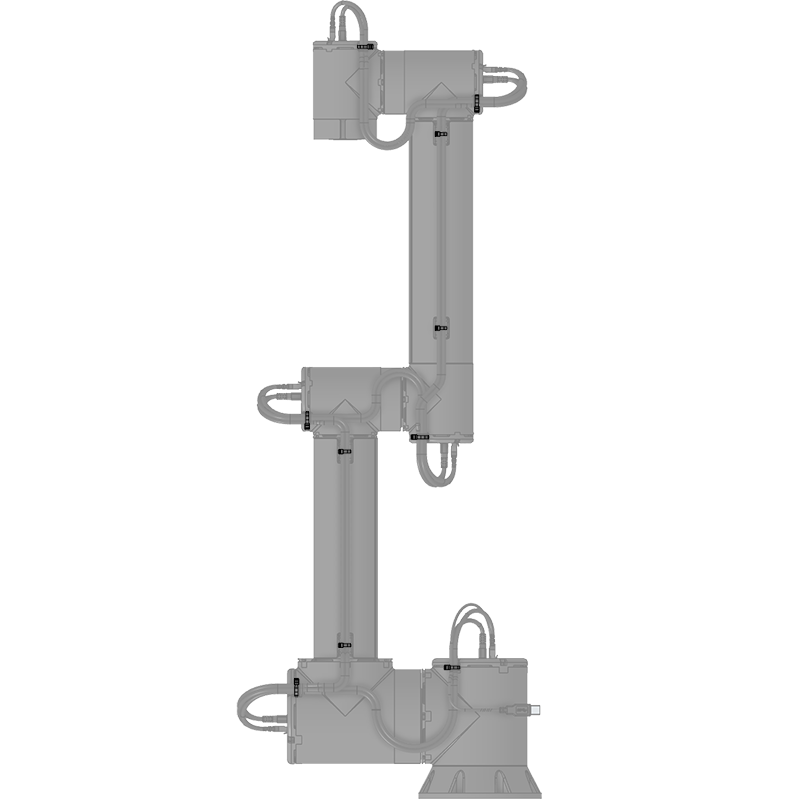
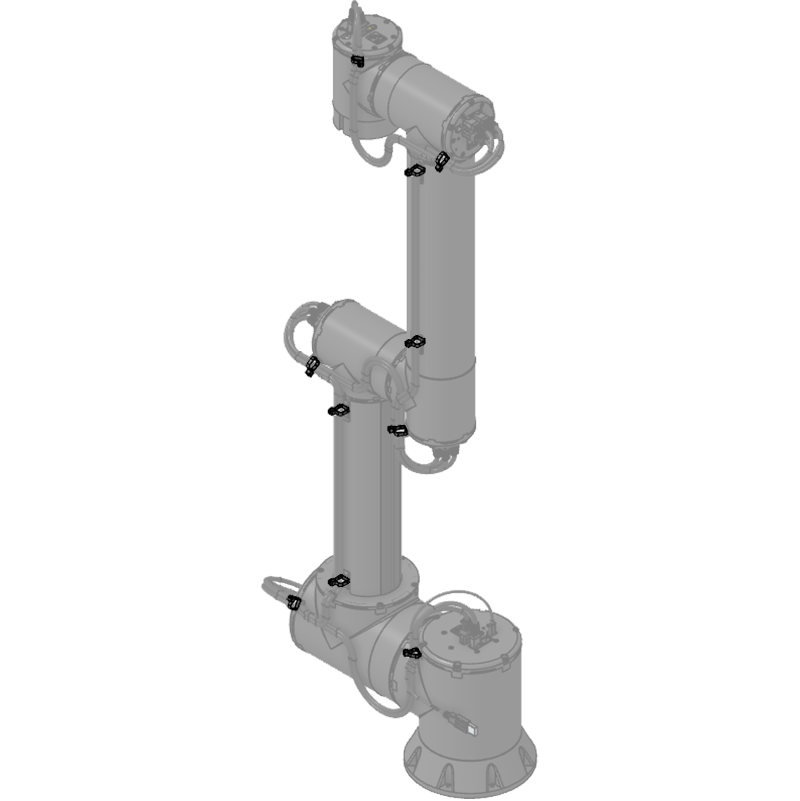
IMPORTANT : In order to prevent the wiring from being too short and breaking during movement, make sure to have the wire length as short as possible between the actuator's connection points and the Zip-Tie. This will leave the maximum of length of cable between the joints to move properly.
| View 1 | View 2 |


