
EH3-R Add-On Decks Assembly Guide
Last modified by Eric Nantel on 2026/04/02 16:42
EH3-R Add-On Decks Assembly Guide
Updated May 25, 2006
Safety first! Wear eye protection and never touch a powered robot!
Note: Do not use Loctite or thread locks on the assembly. They are not necessary and may cause damage to the Lexan.
EH3-R Add-On Decks — Assembly
Step 1 / 5
Attach four 1" Hex Standoffs to the smaller panel as shown, using four 4-40 x 3/8" screws.
4x
4-40 x .375" hex socket screw

4x
4-40 x 1.0" hex standoff
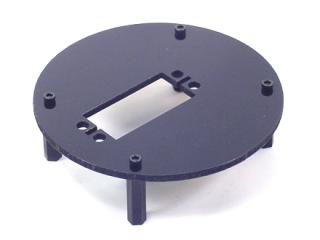 Figure 1.
EH3-R Add-On Decks — Assembly
Step 2 / 5
Attach six 1" Hex Standoffs to the larger panel as shown, using six 4-40 x 3/8" screws.
6x
4-40 x .375" hex socket screw
6x
4-40 x 1.0" hex standoff
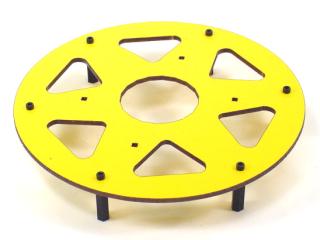 Figure 2.
EH3-R Add-On Decks — Assembly
Step 3 / 5
Connect the panels together as shown, using four 4-40 x 3/8" screws.
4x
4-40 x .375" hex socket screw
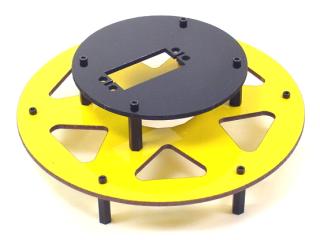 Figure 3.
EH3-R Add-On Decks — Assembly
Step 4 / 5
Drop the servo in from the top and secure it in place with four snap rivet fasteners.
4x
Snap rivet fastener
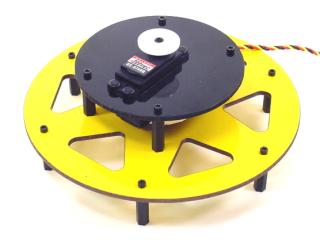 Figure 4.
EH3-R Add-On Decks — Attach to Robot
Step 5 / 5
Use six 4-40 x 3/8" screws to attach the decks to the EH3-R.
6x
4-40 x .375" hex socket screw
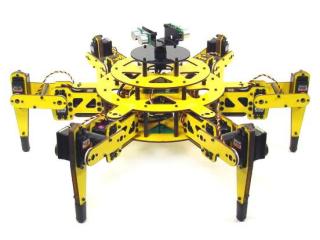 Figure 5.