
Heavy-Duty Wrist Rotate Assembly Guide
Heavy-Duty Wrist Rotate Assembly Guide
Updated March 15, 2010
Safety first! Wear eye protection and never touch a powered robot!
Note: Loctite or thread locks can be used on aluminum components. Do not use on Lexan — not necessary and may cause damage.

Complete arm.
Remove the gripper assembly from the "C" bracket to the Little Grip. Remove the Little Grip from the Little Grip Adapter, and remove the Little Grip Adapter from the "C" bracket.
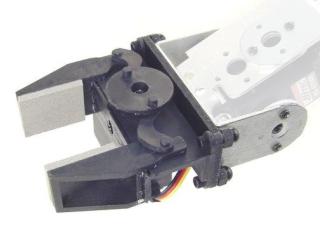 Figure 1.
Refer to the Ball Bearing Hub and Low Profile Axis assembly guide to build the assembly. Use the "C" bracket just removed from the arm and the HS-475 or HS-485 servo included. In order to install the gripper, you must remove the full gear.
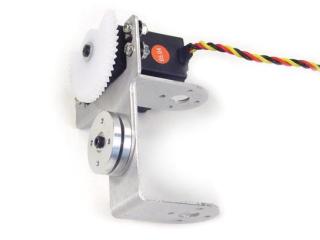 Figure 2.
To space the gripper away from the gears, use the four washers — two stacked on each side of the final gear. Align the bearing, gear, and washers as shown to prepare to install the little grip attachment plate.
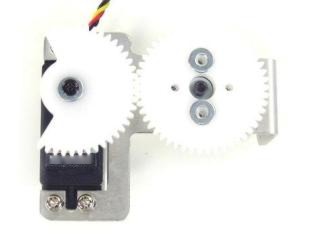 Figure 3.
Install the little grip attachment plate as shown using the 2-56 x .375" screws.
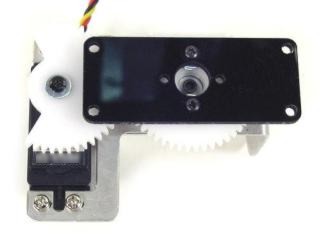 Figure 4.
Attach the Little Grip to the Lexan as shown using three 4-40 x .375" screws and acorn locking nuts. Only three screws are used — the body of the gripper servo blocks the fourth.
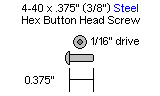
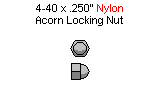
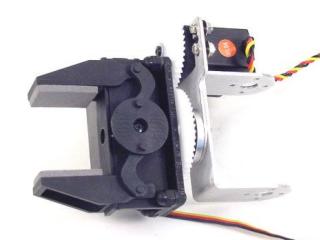 Figure 5.
Slip the gripper assembly back onto the arm assembly and attach with two #2 x .250" tapping screws. Add a 12" extender cable to the wrist rotate servo and plug into channel 5 on the SSC-32. Use wire ties to neaten the wires.
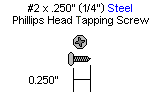 Figure 6.