SES - Mini Gripper Assembly
Last modified by Eric Nantel on 2024/07/03 09:35
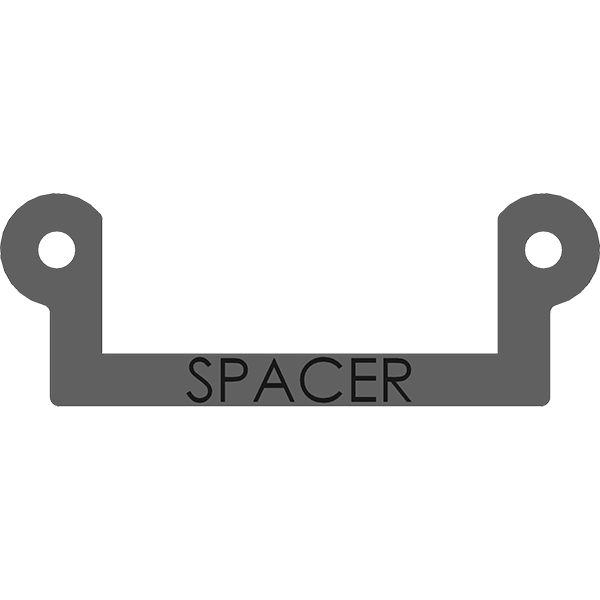
Prepare the Acrylic Parts
Pre-Step


SES - Mini Gripper Assembly
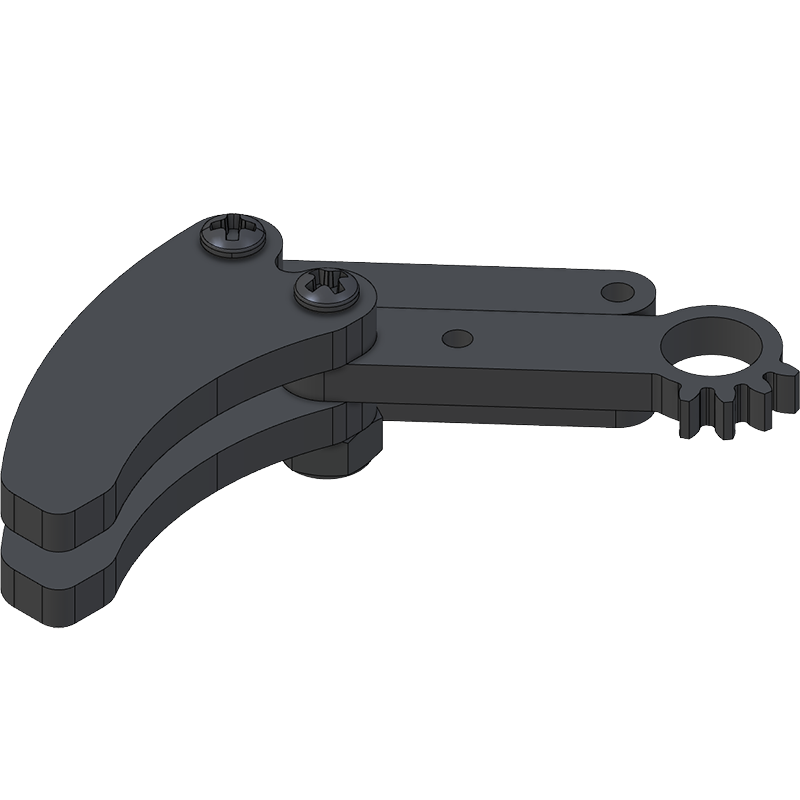
Step 1/7


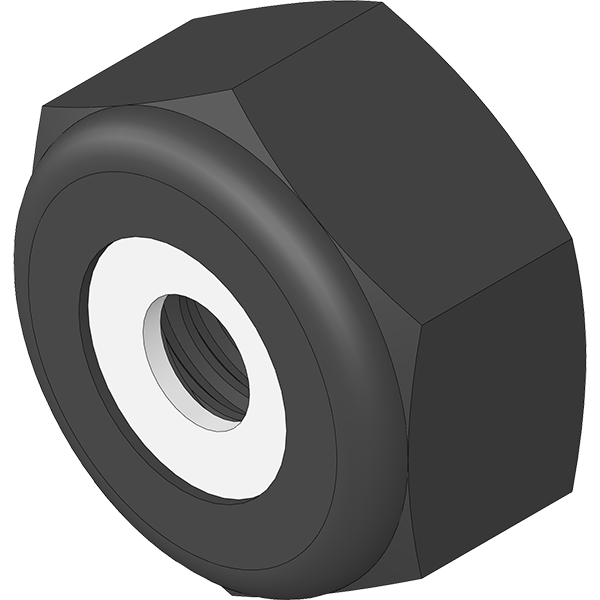
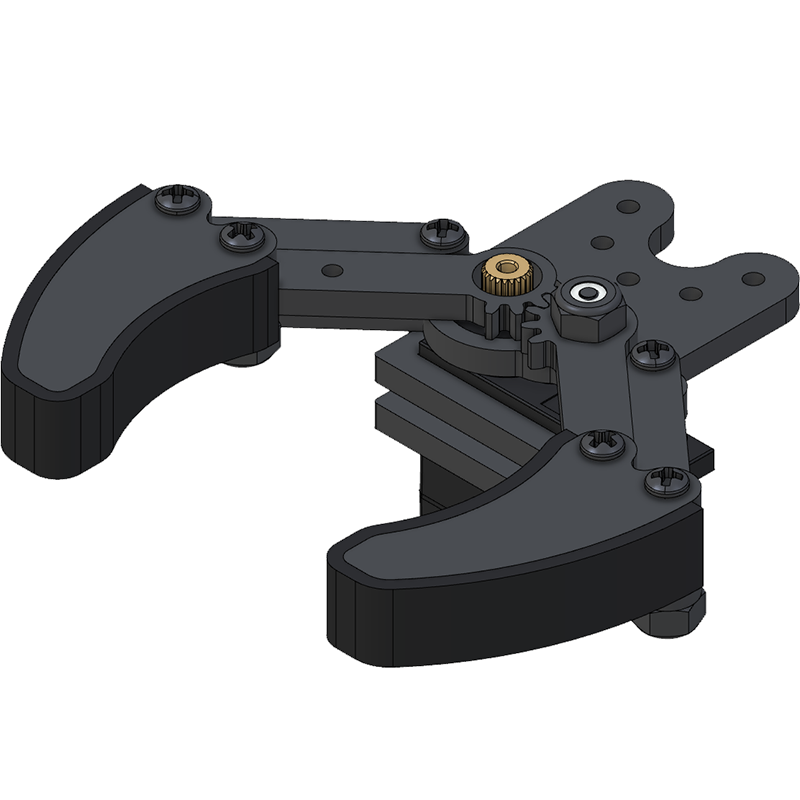
The nuts should first be tightened until they do not rotate, then loosened slightly to allow proper movement. They act as pivot pins at the same time.
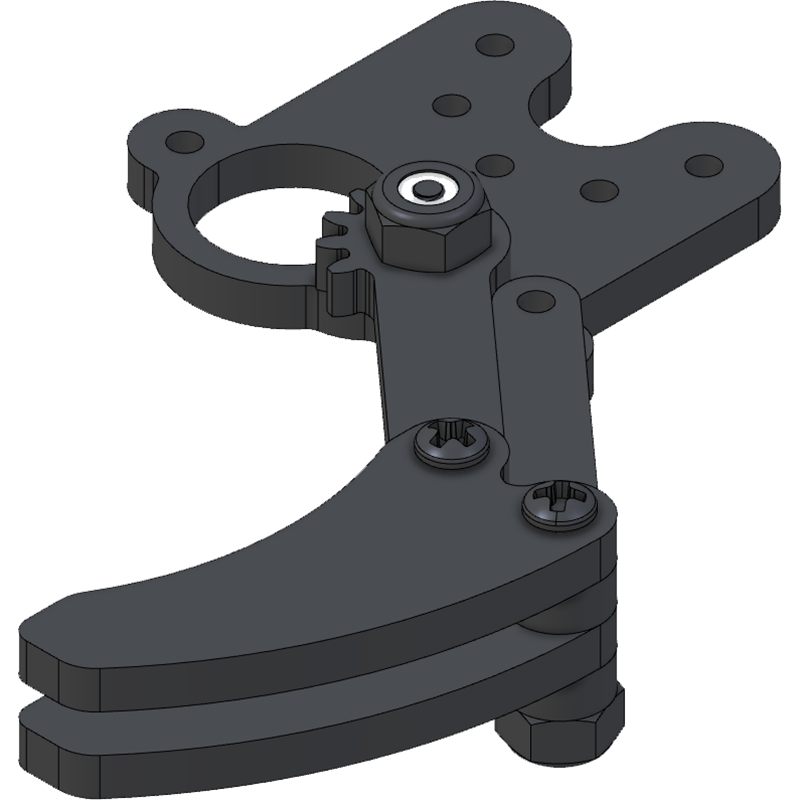
SES - Mini Gripper Assembly
Step 2/7

SES - Mini Gripper Assembly
Step 3/7


SES - Mini Gripper Assembly
Step 4/7
SES - Mini Gripper Assembly
Step 5/7

SES - Mini Gripper Assembly
Step 6/7

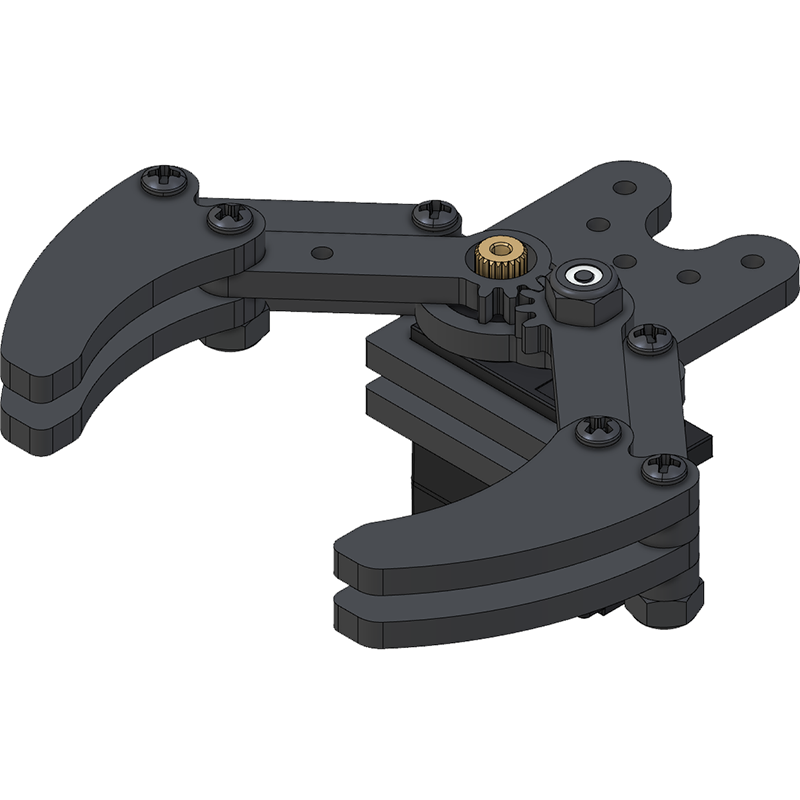
SES - Mini Gripper Assembly
Step 7/7