
LSS Configure IDs
Last modified by Eric Nantel on 2024/07/03 09:39
What's Needed
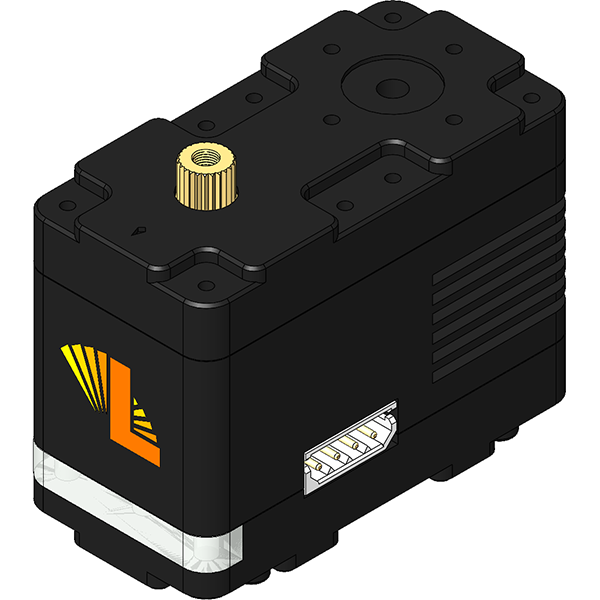
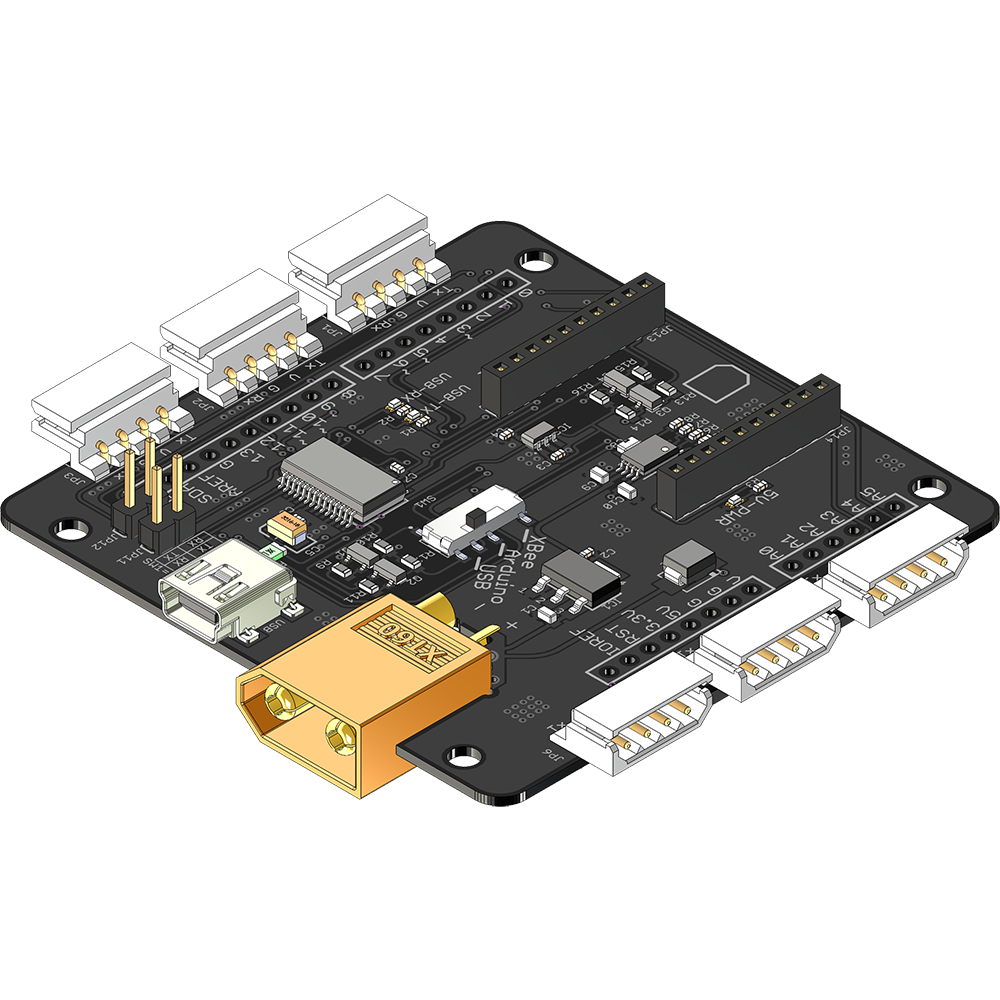
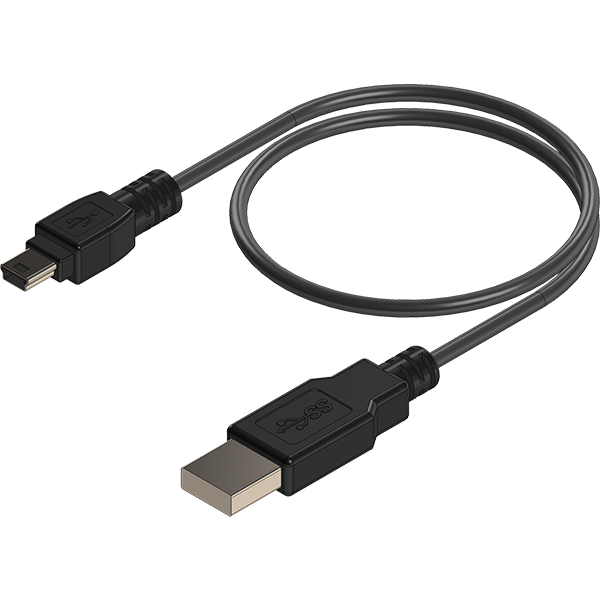
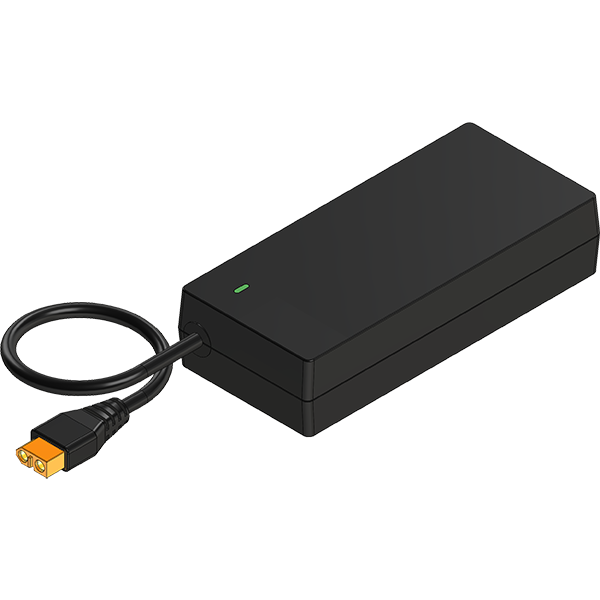
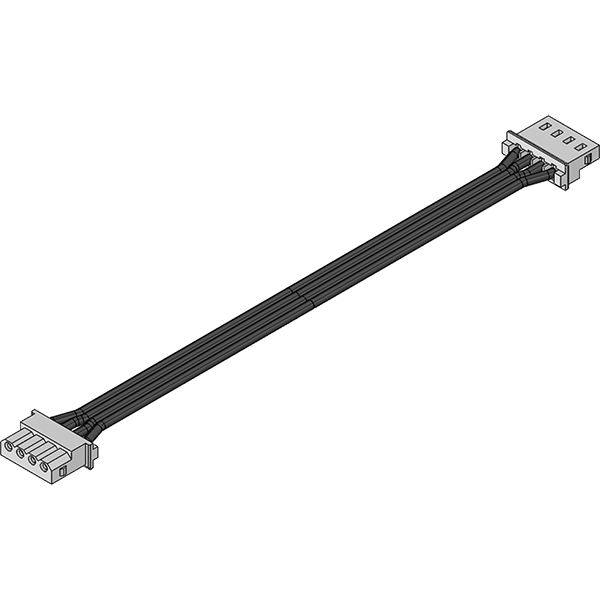
| LSS - Servos | Modules | Wiring | Wiring | Wall Adapters | |
| LSS-XXX | LSS-ADA | LSS-C-XXX | USB-02 | 12V-XT60 | |
 |  |  |  |  |
| LSS - Config | SES - Misc | ||||
| Config Software | ID - Stickers | ||||
 |
LSS Configuration Software - Configure IDs
Step 1/9
LSS Configuration Software - Configure IDs
Step 2/9
LSS Configuration Software - Configure IDs
Step 3/9

LSS Configuration Software - Configure IDs
Step 4/9
LSS-Config
Config. Software

Comments:Open the LSS Configuration Software. Software is available HERE
LSS Configuration Software - Configure IDs
Step 5/9
LSS Configuration Software - Configure IDs
Step 6/9
LSS Configuration Software - Configure IDs
Step 7/9
LSS Configuration Software - Configure IDs
Step 8/9
