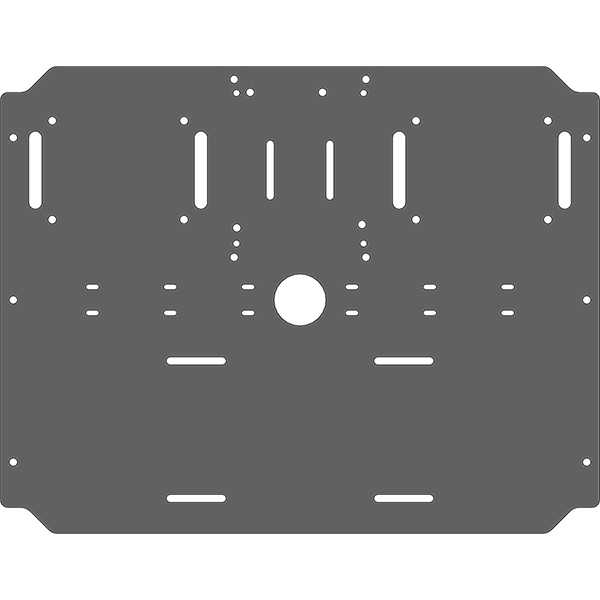
01 - Frame
Last modified by Eric Nantel on 2022/10/03 14:41
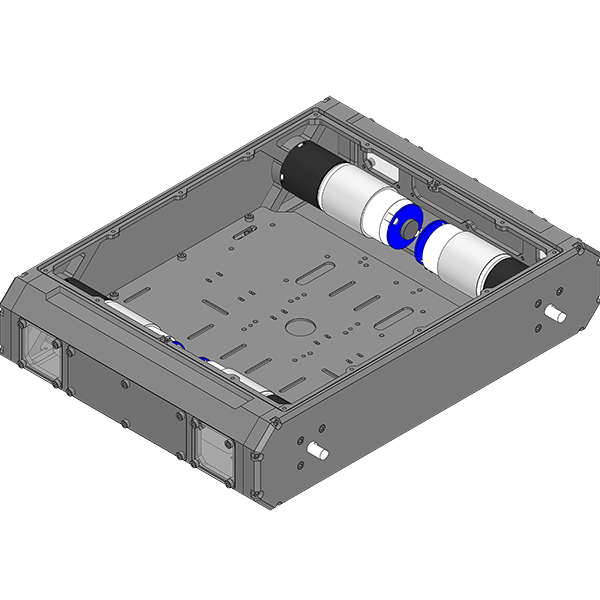
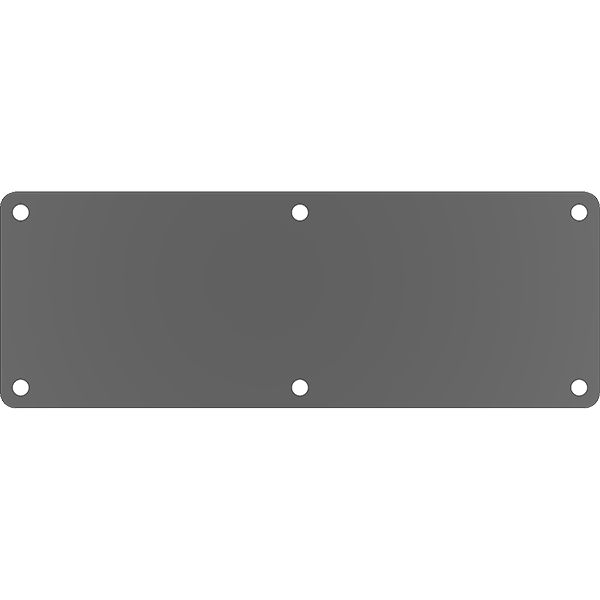
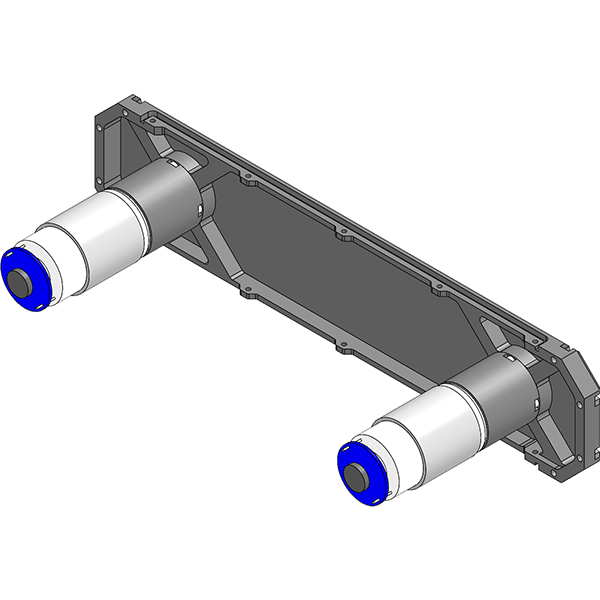
Frame - Assembly A
Step 1/9


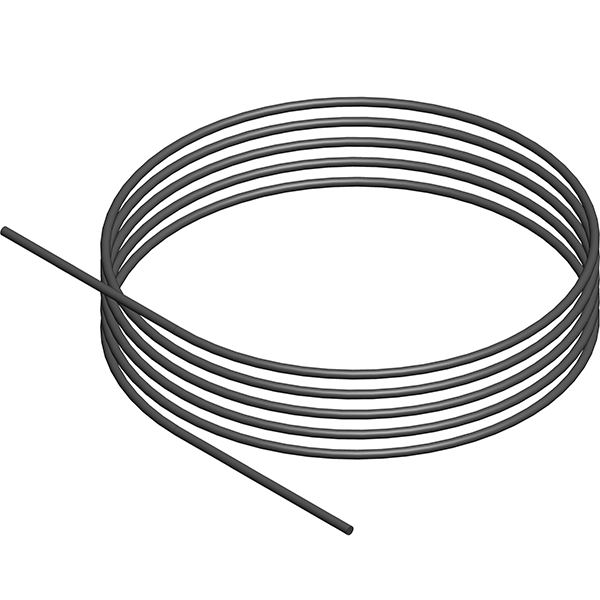
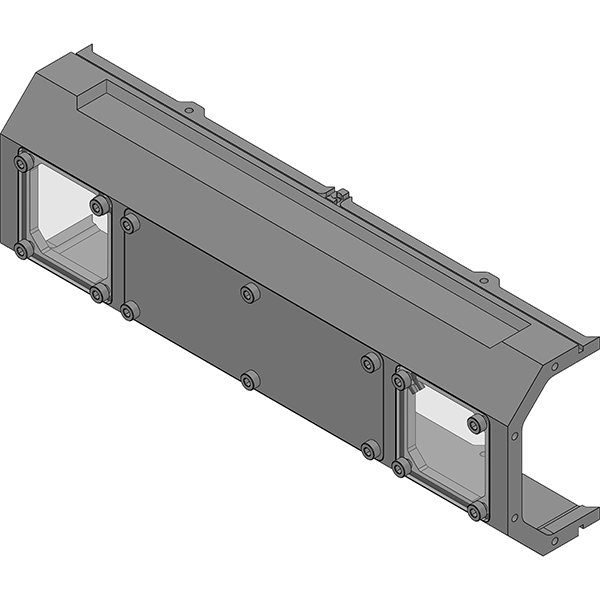
Frame - Assembly B
Step 2/9

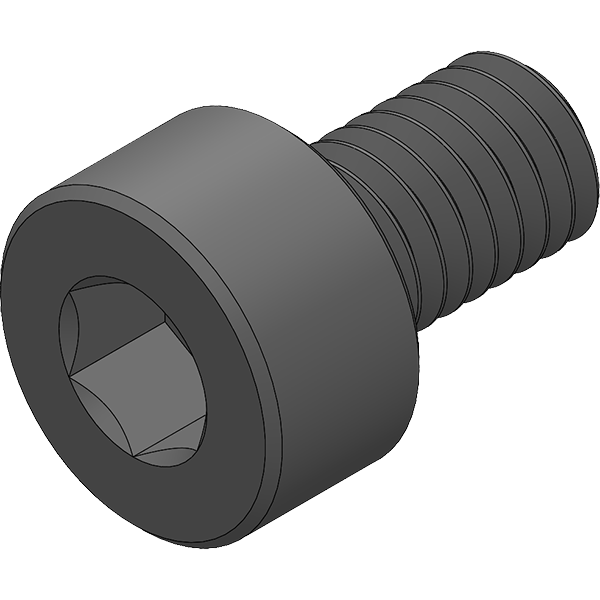
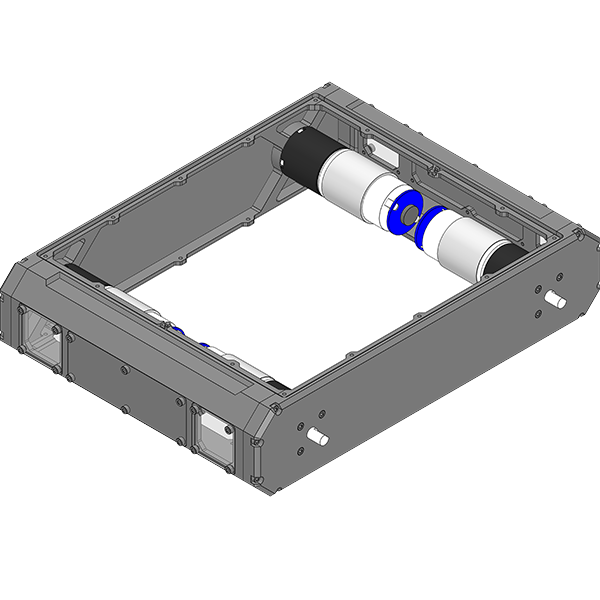
Frame - Assembly C
Step 3/9


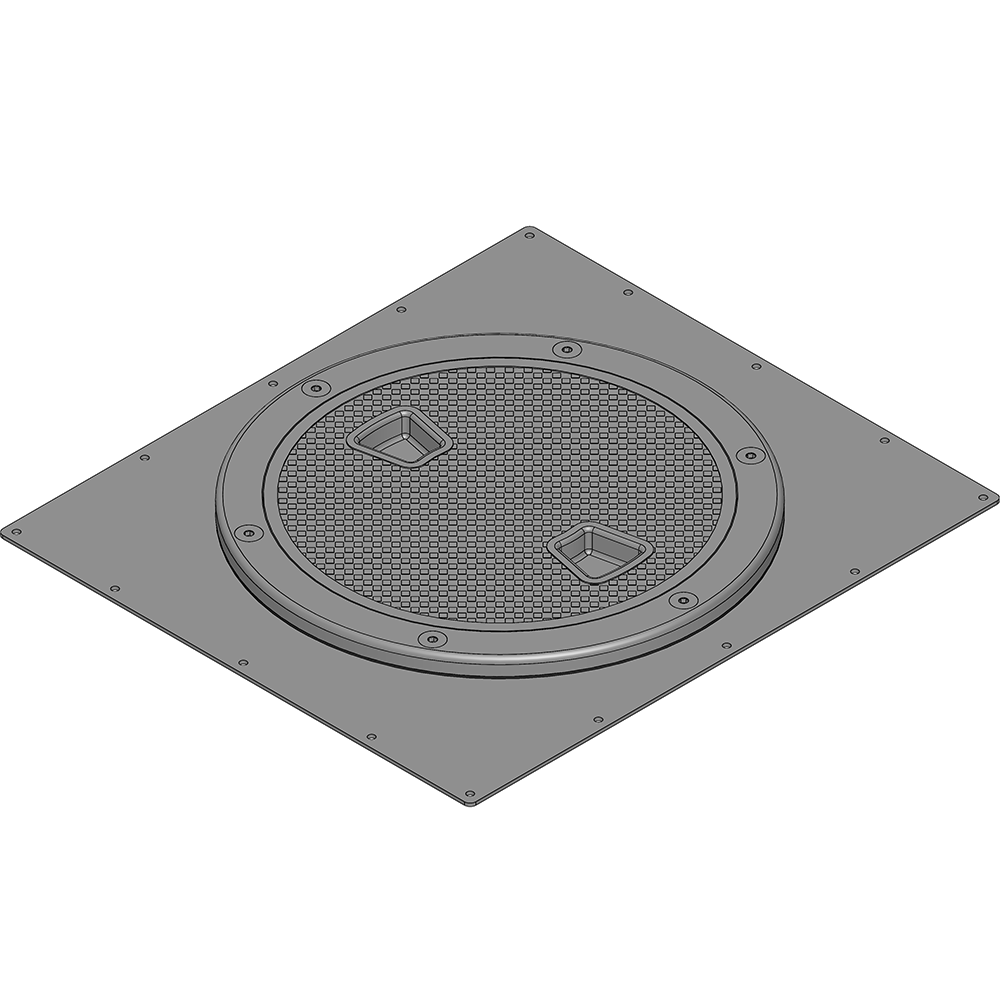
Clear Access Windows
Optional

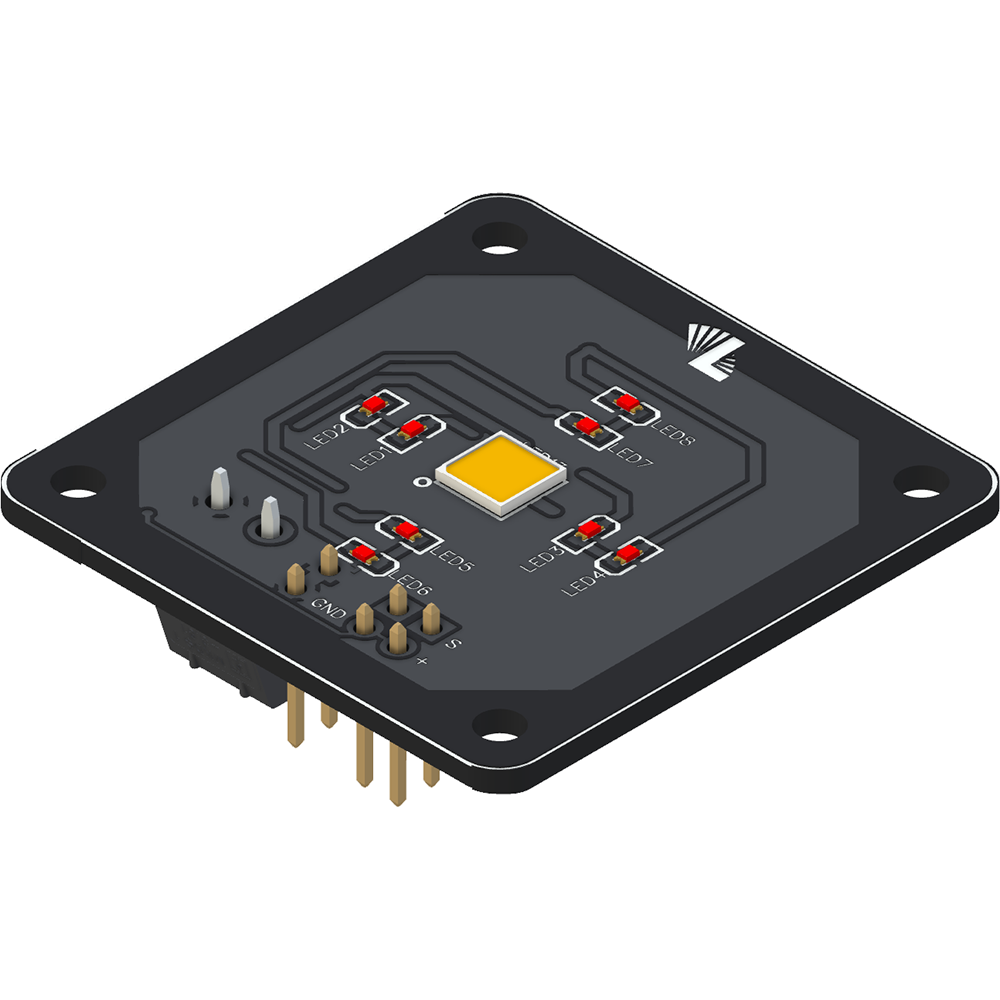
A4WD3-LED Lighting Board
Optional

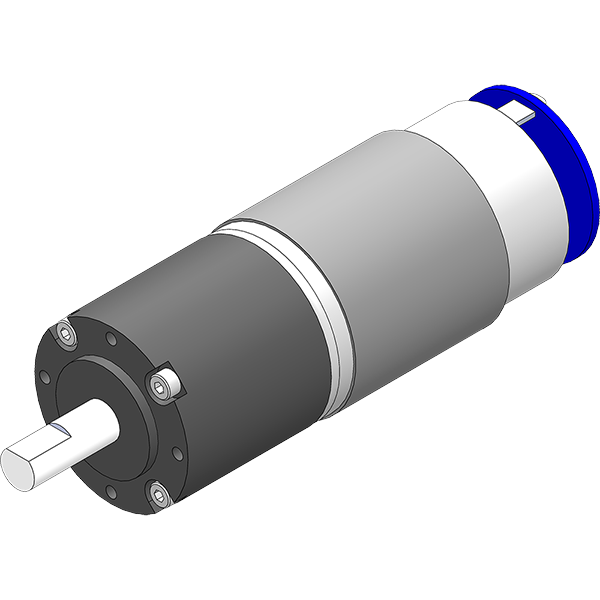
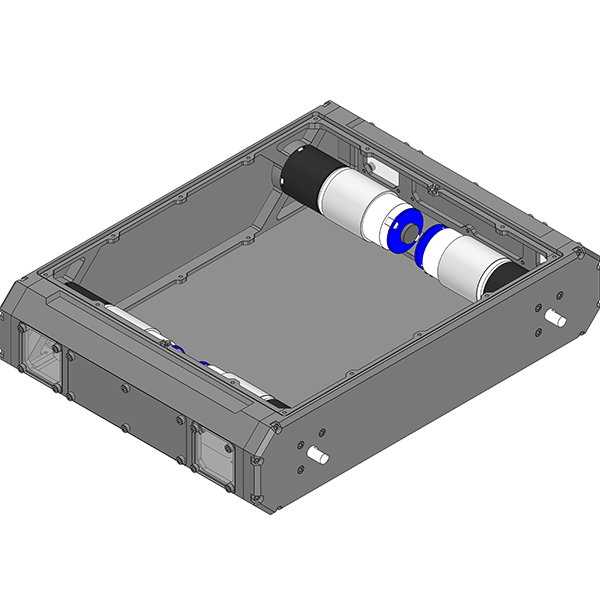
Frame - Assembly E
Step 5/9

Frame - Assembly G
Step 7/9

Frame - Assembly H
Step 8/9


At this stage you should have added your own electronics (motor / controller / etc.) and the next step shows how to close the frame.
Frame - Assembly I
Step 9/9