|
| | 1. Wiring Warning: Make sure your power supply is OFF and wait at least 10s before connecting to the LSS-P actuator. Connect the XT60 from your power supply - Connect the USB Type-C cable
|
| | 2. Power-Up - Proceed with powering the actuator
|
| | 3. LSS PRO Config Software - Install the LSS PRO Configuration software (HERE)
- Open the LSS PRO Configuration software

|
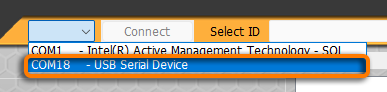
| | 4. Connection - Select the COM port associated with your actuator
- Click Connect
|
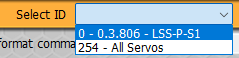
| | 5. Actuator Selection - In the drop-down menu, select your actuator
|
| | 6. Set the ID - In the "Configuration" drop-down menu, select "CID / ID Number"
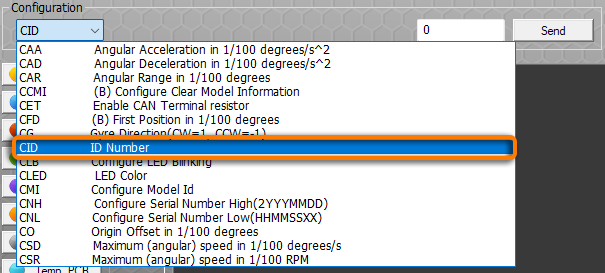
- In the text entry box, set the desired ID number

- Click on the "Send" button

- The "RESET" button will start blinking, click on it to reset

|
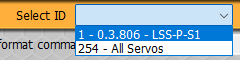
| | 7. Confirm - The software will automatically re-connect to the actuator but if not you can do it manually like in Step 4
- Verify that your ID is not what you have set it at
At that point your Actuator should have the new ID configured. |
