

T-Hex 4DoF Leg Assembly Instructions
4 DOF T-HEX Leg Assembly Instructions
Updated November 11, 2010
Safety first! Wear eye protection and never touch a powered robot!
Important! If you are building legs for the T-HEX robot, you will need to build three right legs (following the pictures on the right) and three left legs (by following the pictures on the left)!
Attach a Tubing Connector Hub to an "L" bracket as shown, using two 2-56 x .250 screws and 2-56 nuts. Make six of these.
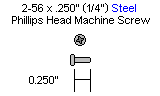
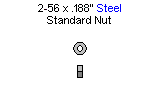
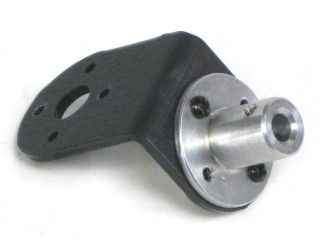 Figure 1. (Left Leg)
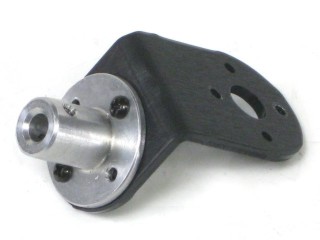 Figure 1. (Right Leg)
Attach the other side of the "L" connector bracket to the Multi-Purpose bracket as shown, using two 2-56 x .250 screws and 2-56 nuts. Make three of each.
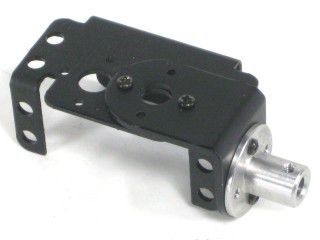 Figure 2. (Left Leg)
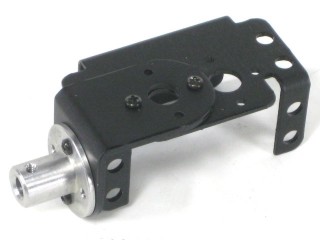 Figure 2. (Right Leg)
Connect a 1.5" tube to each hub using a 4-40 x .250" screw.
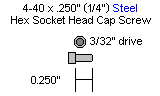
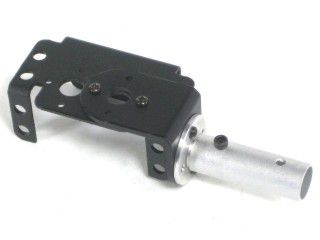 Figure 3. (Left Leg)
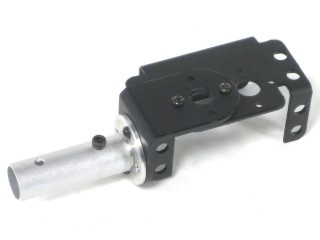 Figure 3. (Right Leg)
Attach an offset "C" bracket to an "L" bracket as shown, using two 2-56 x .250 screws and 2-56 nuts. Create six of these.
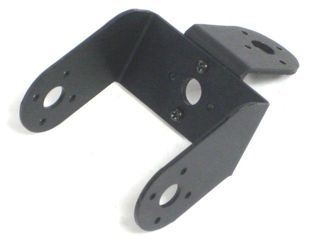 Figure 4. (Left Leg)
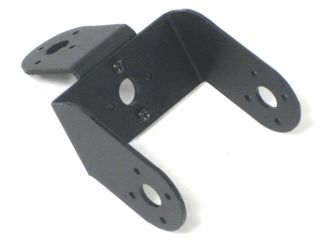 Figure 4. (Right Leg)
Attach the other side of the six "L" connector brackets to a Multi-Purpose bracket as shown, using two 2-56 x .250 screws and 2-56 nuts. Make three for each side.
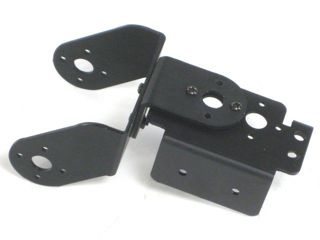 Figure 5. (Left Leg)
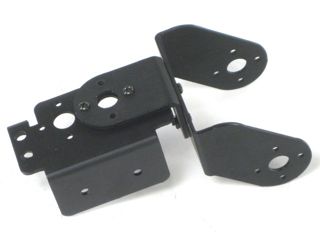 Figure 5. (Right Leg)
Attach the offset "C" bracket to the Multi-Purpose bracket as shown. See the diagram below for detailed information. You should have three of each of these assemblies at the end of this step.
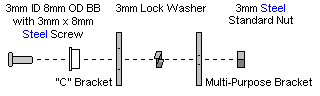
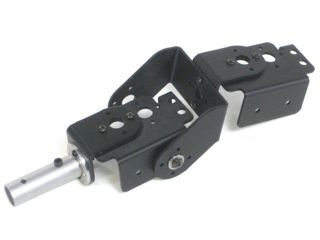 Figure 6. (Left Leg)
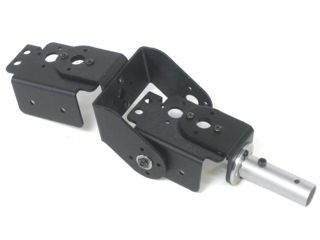 Figure 6. (Right Leg)
Connect a long "C" bracket and an offset "C" bracket as shown, using two 2-56 x .250 screws and 2-56 nuts. Create six of these.
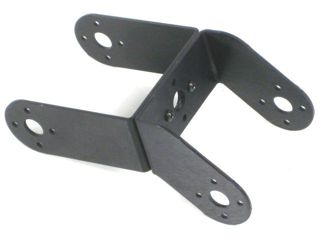 Figure 7. (Left Leg)
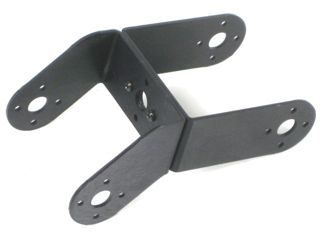 Figure 7. (Right Leg)
Attach the "C" bracket to the Multi-Purpose bracket as shown. See the diagram below for detailed information. Make three of each.
.gif)
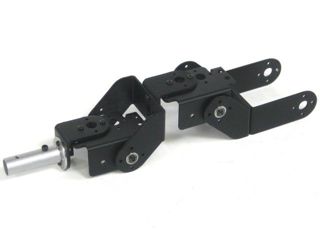 Figure 8. (Left Leg)
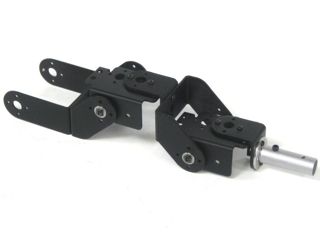 Figure 8. (Right Leg)
Attach a ball bearing to the Multi-Purpose bracket as shown. See the diagram below for detailed information. Make three of each.
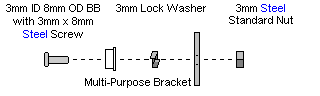
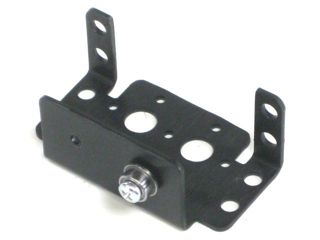 Figure 9. (Left Leg)
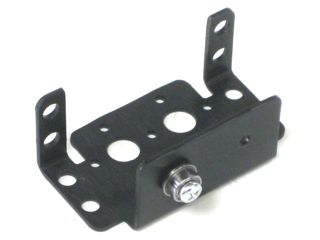 Figure 9. (Right Leg)
Attach two multi-purpose brackets as shown, using two 2-56 x .250" screws and 2-56 nuts. Make two for each side.
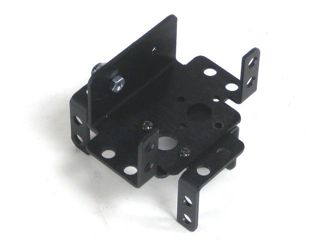 Figure 10. (Left Leg)
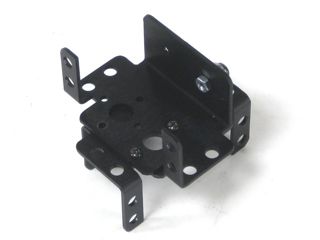 Figure 10. (Right Leg)
Attach the "C" bracket to the Multi-Purpose bracket as shown. See the diagram below for detailed information. Create two of each.
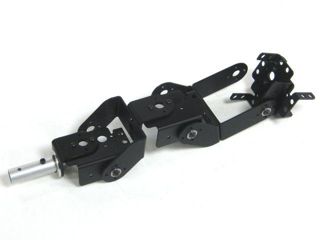 Figure 11. (Left Leg)
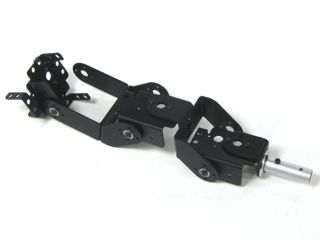 Figure 11. (Right Leg)
Install the servos as shown, using the included 3mm hardware and #2 tapping screws.
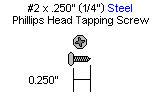
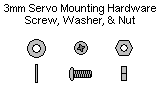
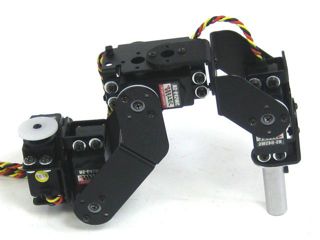 Figure 12. (Left Leg)
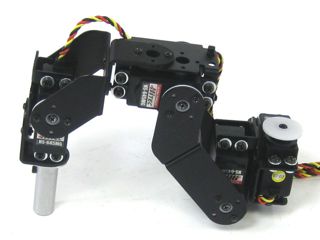 Figure 12. (Right Leg)
Attach the two multi-purpose brackets as shown, using two 2-56 x .250" screws and 2-56 nuts. Make one for each side.
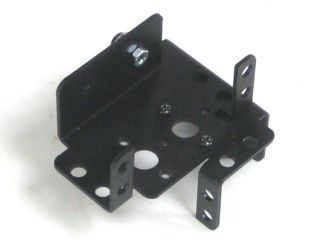 Figure 13. (Left Leg)
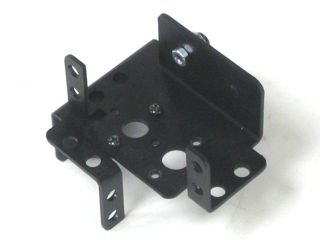 Figure 13. (Right Leg)
Attach the "C" brackets to the Multi-Purpose bracket as shown. See the diagram below for detailed information.
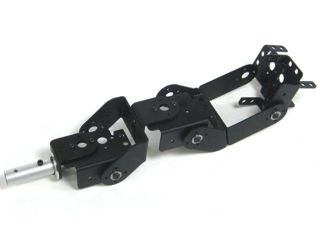 Figure 14. (Left Leg)
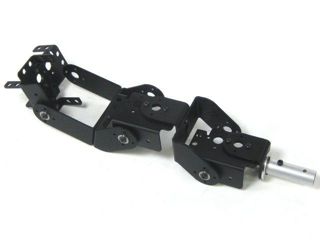 Figure 14. (Right Leg)
Install the servos as shown, using the included 3mm hardware and #2 tapping screws.
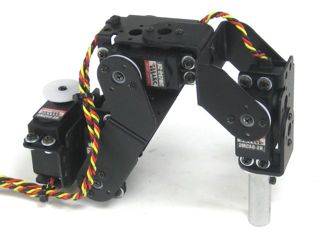 Figure 15. (Left Leg)
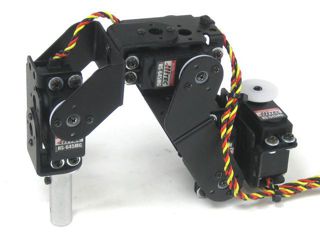 Figure 15. (Right Leg)
Slide a rubber foot over the end of each 1.5" tube, and you're finished!
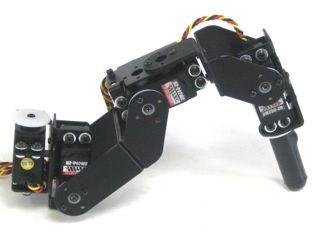 Figure 16. (Left Leg)
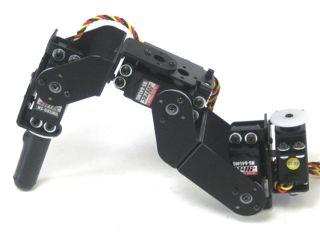 Figure 16. (Right Leg)