Vaccuum Gripper Wrist Rotate Assembly Guide
| Vaccuum Gripper Wrist Rotate Assembly Guide.
Updated 03/29/2011 Safety first! Wear eye protection and never touch a powered robot! Note: Loctite or thread locks can be used on the construction of the aluminum components. However, don't use them with Lexan, as they are not necessary and may cause damage. |
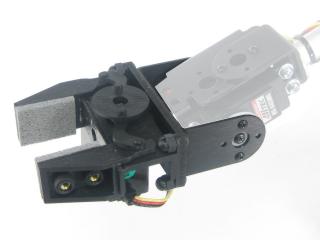
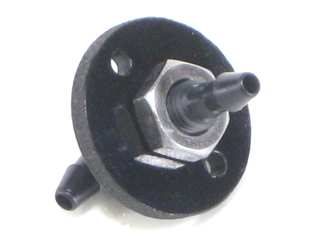
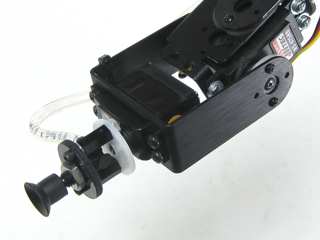 Image of completed assembly. |
||||
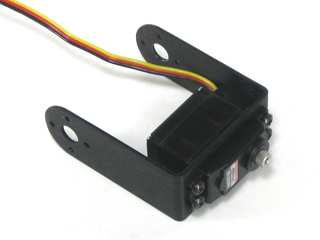
| Step 1. Remove the gripper assembly from the "C" bracket and set it aside; it will not be used with the wrist rotate. |
|
||||
Step 2.
|
|
||||
Step 3.
|
|
||||
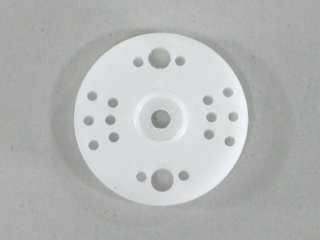
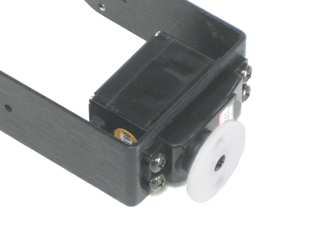
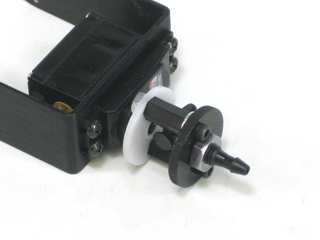
| Step 4. Reattach the servo horn in the same position. |
|
||||
Step 5.
|
|
||||
Step 6.
|
|
||||
Step 7.
|
|
||||
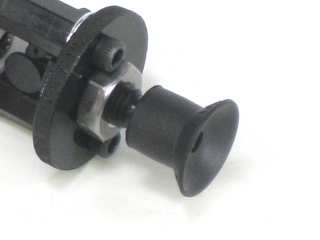
| Step 8. Slide the suction cup onto the end of the elbow fitting. |
|
||||
Step 9. Attach the vaccuum tube to the elbow fitting and route it to the syringe assembly. If using wire ties to keep the tube secured, be sure to leave enough slack to allow the wrist to rotate fully. Remember to NOT overtighten the wire tie as this will compress the tubing, not allowing air to move through.
|
|
||||


