
Humanoid Biped Hand "A" Assembly Guide
Humanoid Biped Hand Assembly Guide
Updated December 21, 2011
Safety first! Wear eye protection and never touch a powered robot!
This guide covers one arm and hand for the robot's right side. Repeat all steps as a mirror image for the left side.
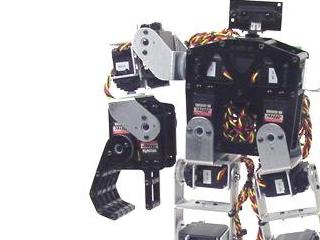
Humanoid Biped with Hand.
Remove the protective covering from all Lexan pieces before assembly. The laser cutting process melts the covering into the cut edge, making removal harder. Gently scrape the cut edge with a flat blade screwdriver to lift and peel the covering off.
On smaller pieces, use duct tape to lift the covering after scraping. For more information on Lexan, see this page.
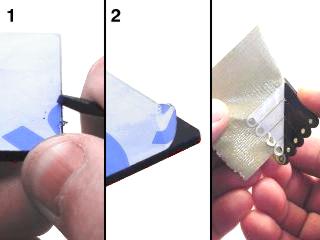 Lexan preparation.
Attach two multi-purpose servo brackets together as shown using two 2-56 x .250" screws and 2-56 nuts.
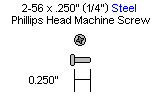
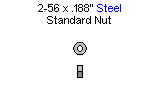
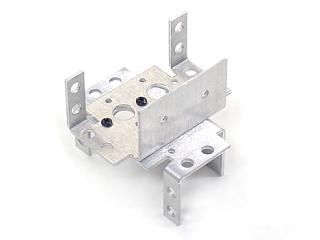 Figure 1.
Connect the offset "C" bracket to a multi-purpose bracket as shown. Refer to Figure 2-1 for ball bearing detail.
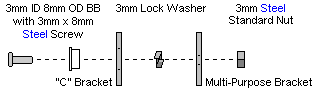
Figure 2-1 — Ball bearing detail.
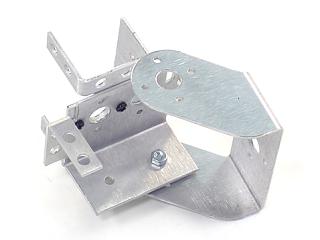 Figure 2-2.
Attach two servos as shown using snap rivet fasteners and #2 tapping screws.
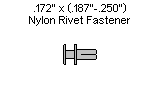
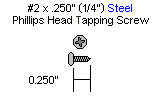
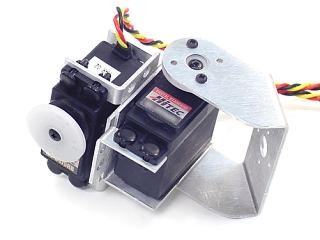 Figure 3.
Thread a 3/8" nylon spacer onto each of four 1.5" threaded rods, followed by a Lexan finger panel, then another 3/8" spacer. Add a finger panel at either end as shown.
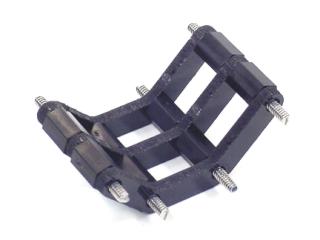 Figure 4.
Attach 3/8" nylon spacers at the ends of the threaded rod pieces as shown. Keep everything tight.
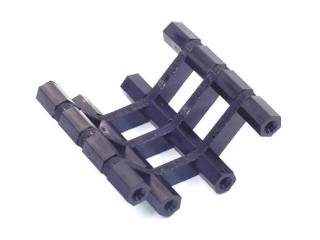 Figure 5.
Attach the long finger panels as shown using eight 4-40 x 1/4" hex socket screws.
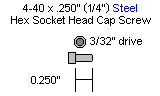
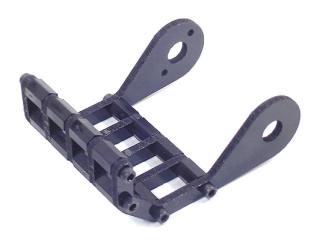 Figure 6.
Attach three 3/4" hex standoffs to the hand servo panel as shown using three 4-40 x 1/4" screws.
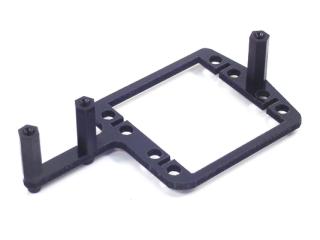 Figure 7.
Use eight snap rivet fasteners to hold two servos in place as shown. Note the orientation of the servos.
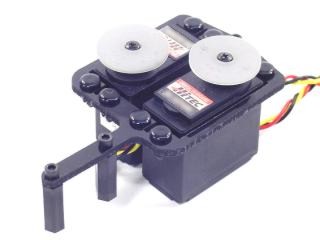 Figure 8.
Attach the second hand servo panel as shown using three 4-40 x 1/4" screws.
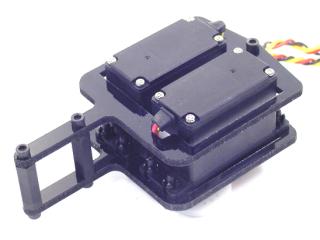 Figure 9.
Firmly attach the servo hinges to the servos as shown. Make sure to align the hole with the servo horn.
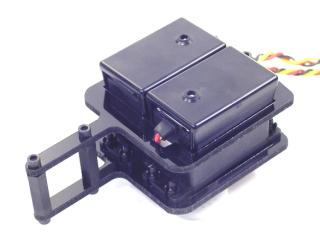 Figure 10.
Connect the fingers to the servo as shown using the ball bearing hardware and two #2 tapping screws. Position the ball bearing so the flange is on the outside of the Lexan.
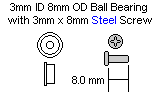
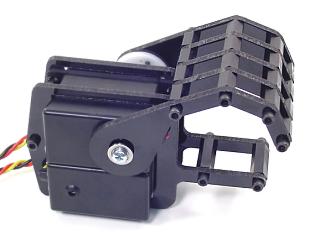 Figure 11.
Use an offset bracket to attach the hand to the biped. Position the ball bearing with the flange on the outside of the bracket. To mount the arm to the biped torso, use two #2 tapping screws to attach the offset bracket to the torso servo.
Figure 12 (arm mounted to biped).