
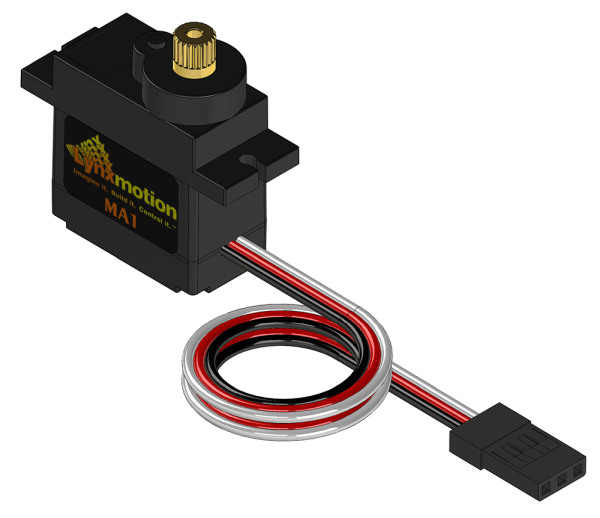
SES - Mini Gripper Assembly
Version 36.1 by Eric Nantel on 2019/07/12 12:12
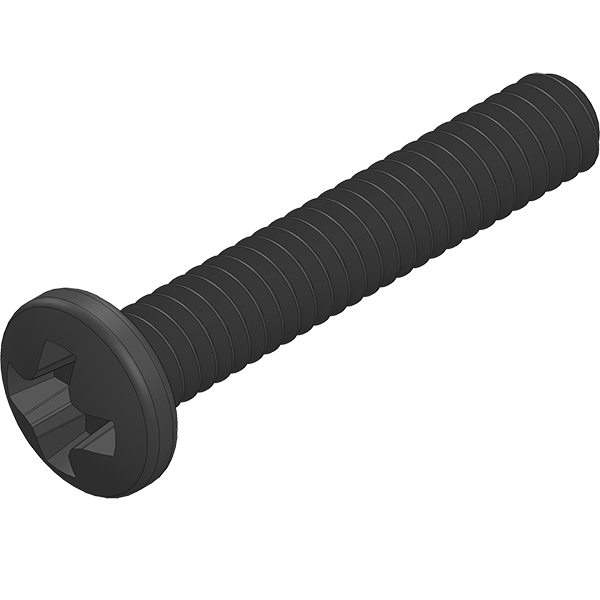
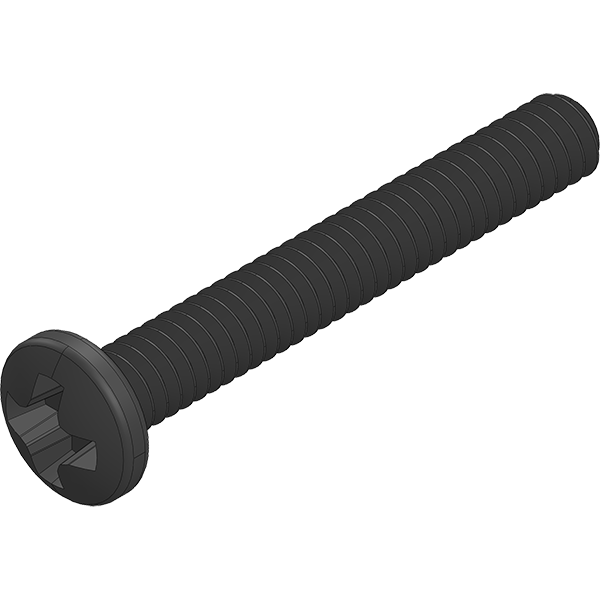
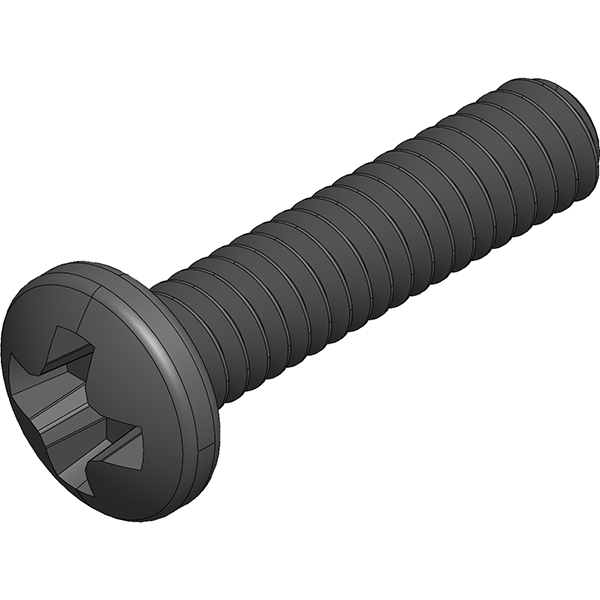
All the "Screws" and "Nuts" should be tighten until you feel tight and then loosen slightly to allow proper movement. They act as pivot pins at the same time.
SES - Mini Gripper Assembly
Step 1/6


SES - Mini Gripper Assembly
Step 2/6

SES - Mini Gripper Assembly
Step 3/6


SES - Mini Gripper Assembly
Step 4/6


SES - Mini Gripper Assembly
Step 5/6


