SES - Mini Gripper Assembly

Version 45.1 by Eric Nantel on 2019/07/17 08:59

Prepare the Acrylic parts
Pre-Step
1x SES-MG
Acrylic Parts
Comments:In order to use the parts you need to peel off the protective film on either sides of the Acrylic then detach the parts.

SES - Mini Gripper Assembly
Step 1/6
2x SES-MG-PRT-05
Gripper End
2x SES-MG-PRT-02
Parallel Link
1x SES-MG-PRT-03
Driving Link
1x PHS-05
2-56 x 1/2"
1x PHS-22
2-56 x 5/8"
2x SLN-04
2-56 Lock Nut

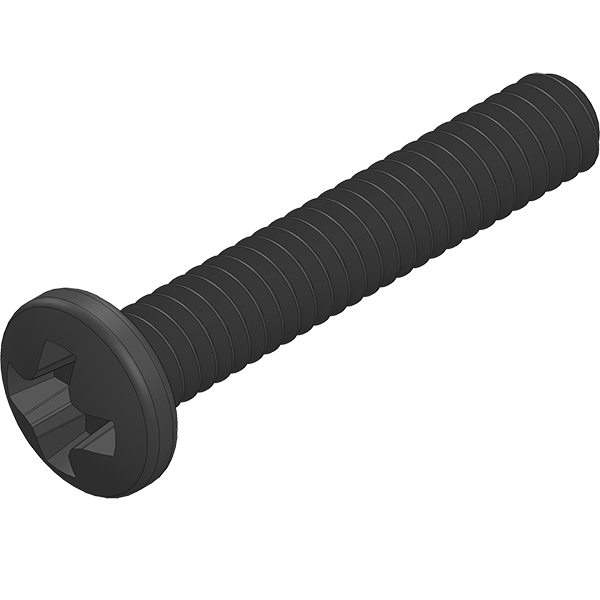
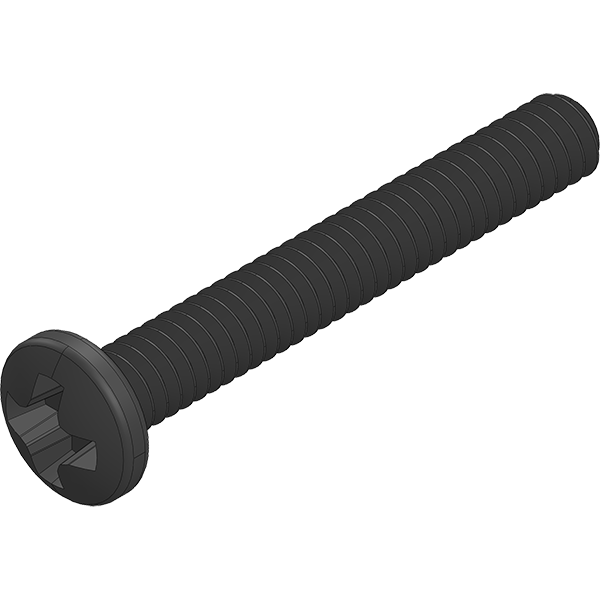
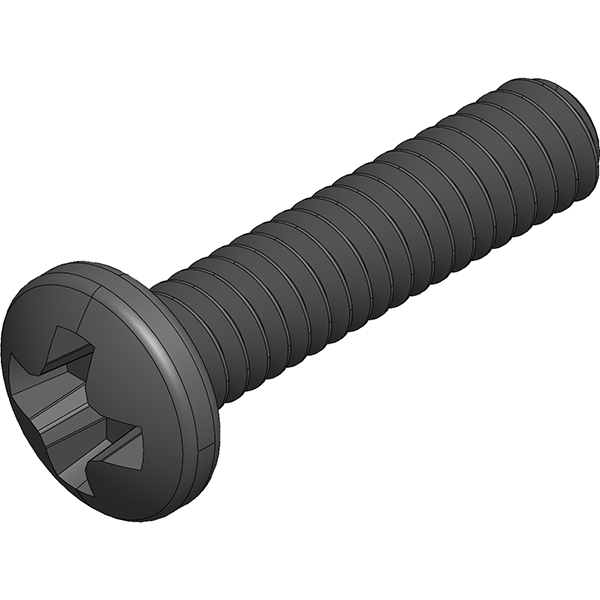
All the "Screws" and "Nuts" in this assembly manual should be tighten until you feel tight and then loosen slightly to allow proper movement. They act as pivot pins at the same time.

SES - Mini Gripper Assembly
Step 2/6
2x SES-MG-PRT-05
Gripper End
2x SES-MG-PRT-02
Parallel Link
1x SES-MG-PRT-04
Idler Link
1x PHS-05
2-56 x 1/2"
1x PHS-22
2-56 x 5/8"
2x SLN-04
2-56 Lock Nut

SES - Mini Gripper Assembly
Step 3/6
1x SES-MG-PRT-01
SES Servo Plate
1x PHS-09
2-56 x 3/8"
1x SLN-04
2-56 Lock Nut

SES - Mini Gripper Assembly
Step 4/6
1x LRC-MA1
Micro Servo
1x Step-01
Sub-Assembly
1x - Step-03
Sub-Assembly

SES - Mini Gripper Assembly
Step 5/6
1x SES-MG-PRT-06
Servo Spacer
1x SES-MG-PRT-07
Servo Nut
2x PHS-22
2-56 x 5/8"
Comments:The "NUT" part has slightly smaller holes which make it perfect to thread the screws in. So it should be used at the end and the "SPACER" in the middle of the assembly.

SES - Mini Gripper Assembly
Step 6/6
2x SES-MG-PRT-08
3" Foam Strip
Comments:Strip provided is 6" so you would have to cut it in half for this step.

Tags:
Created by Eric Nantel on 2019/07/02 09:16
Copyright RobotShop 2018