LSS Configuration Software - Firmware Update

Version 2.1 by Eric Nantel on 2019/09/23 08:17

What's Needed

LSS - ServosModulesWiringWiringWall Adapters 
LSS-XXXLSS-ADALSS-C-XXXUSB-0212V-XT60 
LSS-Servo.PNGLSS-ADA.pngLSS-C-100.pngUSB-Cable-A-Mini.PNGBX-12006000-XT60.PNG 
LSS - ConfigSES - Misc    
Config SoftwareID - Stickers    
LSS-Config-IDs-Icon.pngLSS-Servo.PNG    

LSS Configuration Software - Configure IDs
Step 1/7
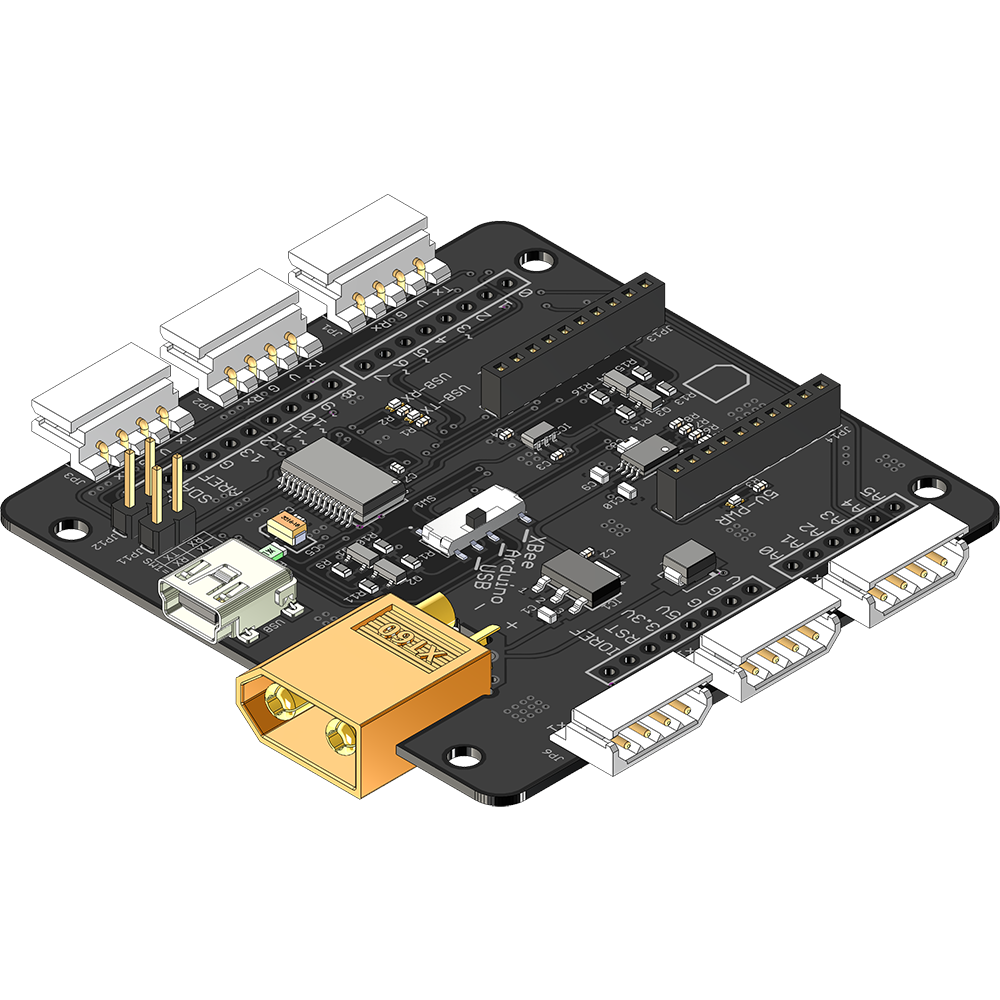
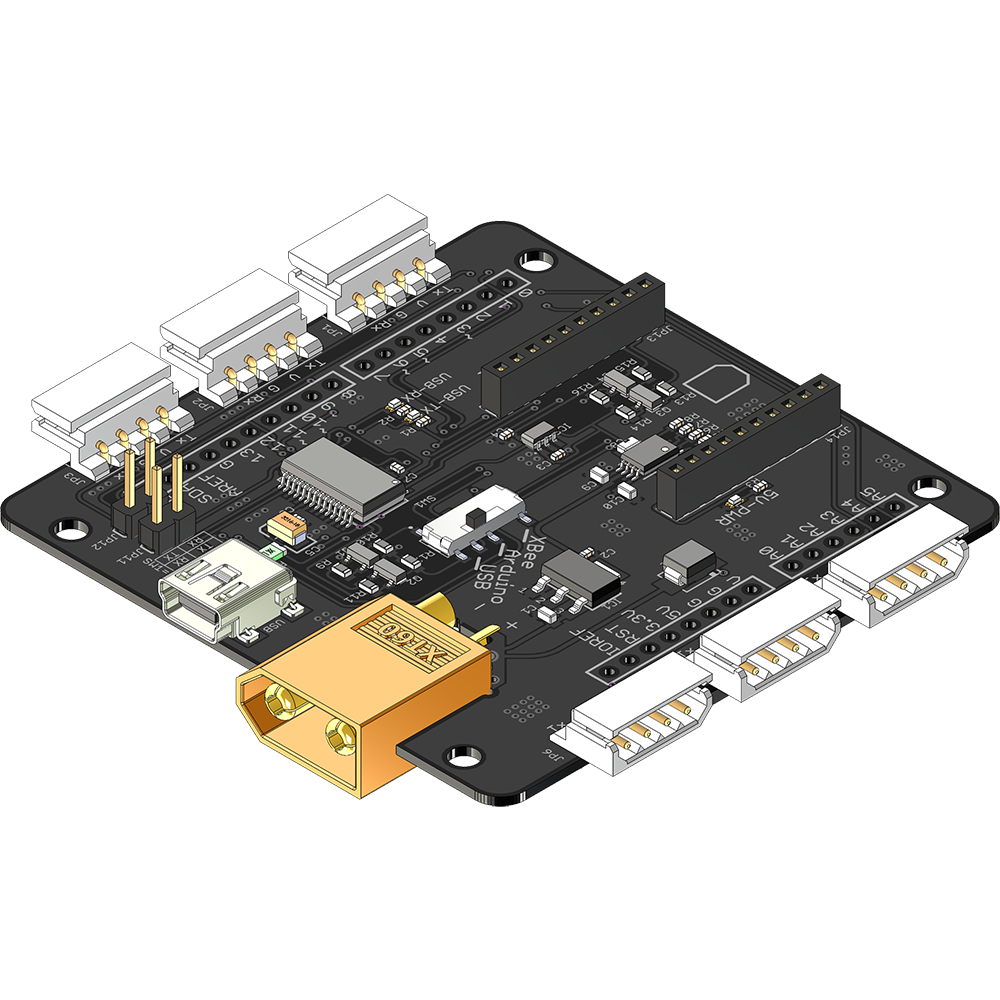
1x LSS-ADA
LSS Adapter Board
Comments:Set the LSS Adapter Board to USB mode with the mode switch

LSS Configuration Software - Configure IDs
Step 2/7
1x USBC-02
USB to Mini B
1x 12V-XT60
12V w/ XT60
Comments:Connect both USB and power cables to the LSS Adapter

LSS Configuration Software - Configure IDs
Step 3/7
1x LSS-XXX
Any LSS Servo
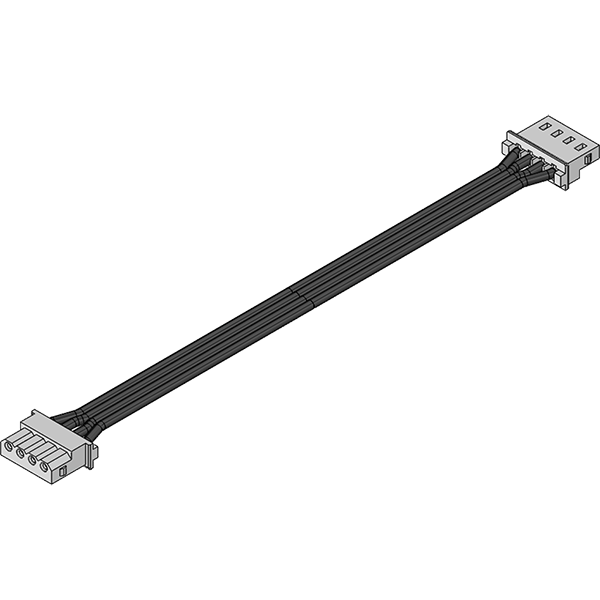
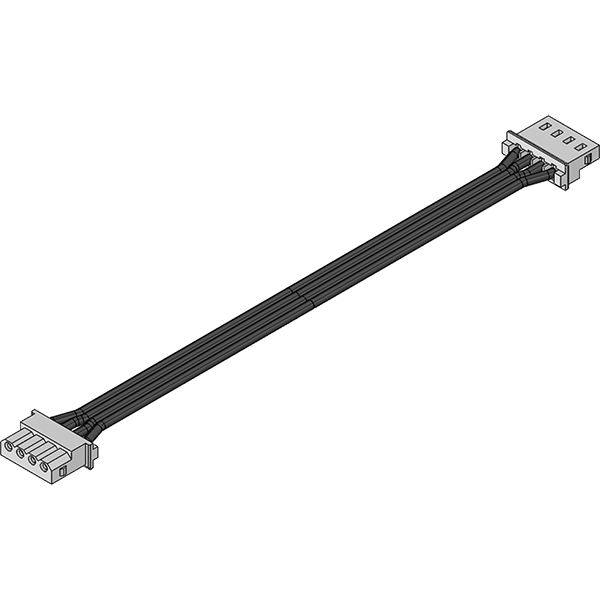
1x LSS-C-XXX
LSS Cable
Comments:Connect the LSS cable between the LSS Adapter and the LSS. At that point you can flip the ON switch on your power supply.

LSS Configuration Software - Configure IDs
Step 4/7
LSS-Config
Configuration Soft
Comments:Open the LSS Configuration Software. Software is available HERE

LSS Configuration Software - Configure IDs
Step 5/7
LSS-Config
Configuration Soft
Comments:Select your COM port and click Connect to initiate the communication

LSS Configuration Software - Configure IDs
Step 6/7
LSS-Config
Configuration Soft
Comments:Set your ID in the field box and click Update. Your LSS will reboot now

LSS Configuration Software - Configure IDs
Step 7/7
LSS-Config
Configuration Soft
ID-Stickers
01 to 25
Comments:Apply a marker with the ID of your servo on the LSS

Tags:
Created by Eric Nantel on 2019/09/23 08:16
Copyright RobotShop 2018