LSS-PRO Configure IDs

Last modified by Coleman Benson on 2024/10/08 12:52

LSS-PRO Configure IDs


1. Wiring

WARNING:Do not hot plug the servo! Make sure the power supply is turned OFF (and waited at least 10s for it to completely discharge its internal capacitor) before connecting it to the LSS-P actuator

  • Connect the XT60 from your power supply

  • Connect the USB Type-C cable

If you are using a battery, ensure there is an On/Off switch between the battery and the servo(s).


2. Power ON

  • Power the actuator (set the switch to ON)
 

3. LSS PRO Config Software

  • Install the LSS PRO Configuration software (HERE)
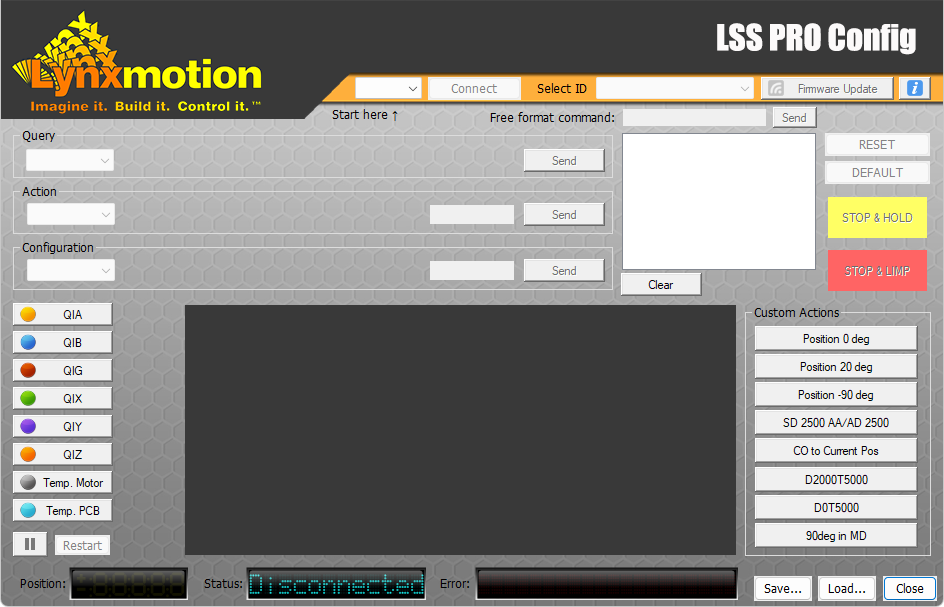
  • Open the LSS PRO Configuration software

LSS-P-ID-Config-Open.png


4. Connect to the BUS

  • Select the COM port associated with your actuator or the first servo in the BUS
  • Click Connect

LSS-P-ID-Config-COM.png


5. Actuator Selection

  • In the drop-down menu, select your actuator

LSS-P-ID-Config-Select.png


6. Set the servo's ID

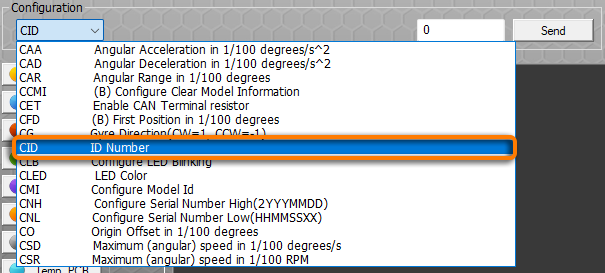
  • In the "Configuration" drop-down menu, select the Configure ID command "CID / ID Number"

LSS-P-ID-Config-CID.png

  • In the text entry box, set the desired ID number (integers only up to 253)

LSS-P-ID-Config-ID1.png

  • Click on the "Send" button to send the command to the servo

LSS-P-ID-Config-Send.png

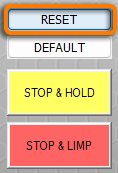
  • The "RESET" button will start blinking, click on it to reset the servo

LSS-P-ID-Config-Reset.png


7. Confirm

  • The software will automatically re-connect to the actuator but if not, proceed as done in Step 4
  • Verify that your ID is not what you have set

LSS-P-ID-Config-ID1-Confirm.png

At that point your Actuator should have the new ID configured.

 8. Repeat individualls for each servo in the BUS ensuring only one servo at a time is connected via its own USB to the software.
Tags:
Created by Eric Nantel on 2024/04/19 15:13
Copyright RobotShop 2018