
Humanoid Biped Torso Assembly Guide
Humanoid Biped Torso Assembly Guide — Rev. 1
Updated December 21, 2011
Safety first! Wear eye protection and never touch a powered robot!
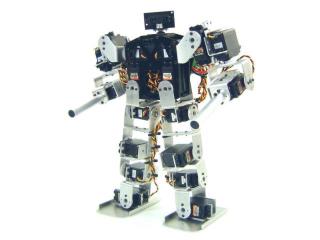
Humanoid Biped.
Remove the protective covering from all Lexan pieces before assembly. The laser cutting process melts the covering into the cut edge, making removal harder. Gently scrape the cut edge with a flat blade screwdriver to lift and peel the covering off.
On smaller pieces, use duct tape to lift the covering after scraping. For more information on Lexan, see this page.
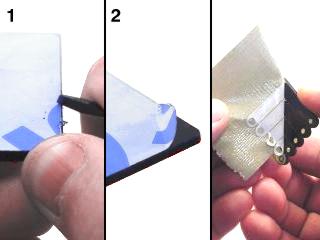 Lexan preparation.
Attach the hex spacers using 4-40 x 3/8" screws. The top four spacers and the centre one are 1.5" — place washers between these spacers and the Lexan. The remaining four spacers are 1.0" and require no washers.
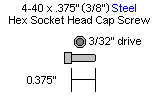
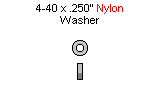
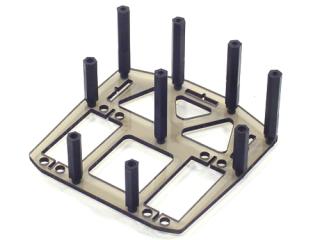 Figure 1.
Use snap rivet fasteners to attach two servos as shown. Note that the servo horn faces toward the bottom of the assembly.
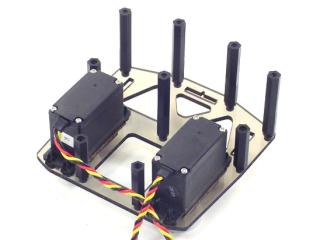 Figure 2.
Attach the middle Lexan panel using four 4-40 x 3/8" screws.
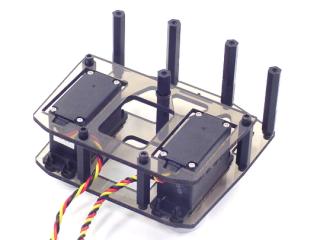 Figure 3.
Ensure the plastic servo hinges have their metal nuts inserted before proceeding. Using double-sided tape, attach the plastic servo hinges as shown, then set the other three servos into position as shown.
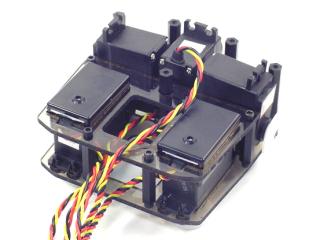 Figure 4.
Attach the legs using the ball bearing hardware and four #2 tapping screws. Only the C-brackets are shown in Figure 5 for clarity.
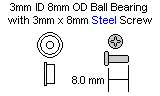

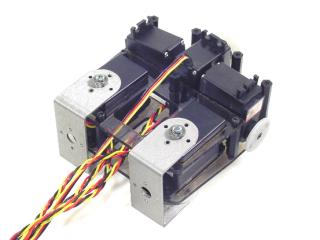 Figure 5a.
Attach the 3/4" spacers to the backpack panel using four 4-40 x 1/4" screws. Note: the latest torso design has the SSC-32 mounted facing left or right.

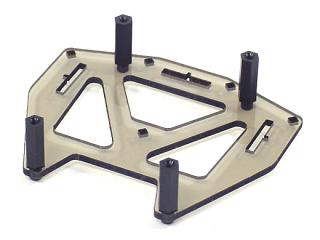 Figure 5b.
Sandwich the three servos between the front panel and the backpack panel as shown. Attach the backpack panel using five 4-40 x 3/8" screws. Note the correct servo orientation before tightening.
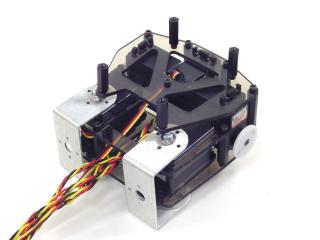 Figure 6.
Attach the SSC-32 to the backpack panel using four 4-40 x 1/4" screws. The recent torso design has the SSC-32 facing left or right.
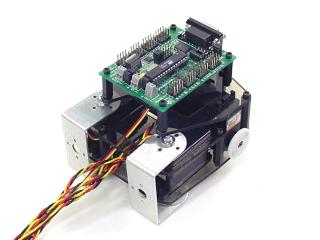 Figure 7.